In previous tutorials and other resources we've covered what haiku was built for and how to get started using the drawing/design tools you already use and love, like Sketch, Figma, Illustrator, or plain SVGs.
We've also talked about Actions, and how they can empower you to create interactive components that can be embedded in any codebase.
Sometimes you don't need interactivity: Haiku can also be used to create delightful animations for any website or native app.
In this tutorial, we'll cover how to animate elements along a curved path.
Fork this project to follow along! https://share.haiku.ai/u/Tina/bubbles
Getting started in Sketch
As was mentioned before, Haiku allows you to choose from a variety of tools to build your designs in, and seamlessly import them into Haiku. For this tutorial, we created our base illustration in Sketch, using the default Sketch file that Haiku creates with every new Haiku project.
If you are new creating illustrations in Sketch, you can check out this article.
Define which slices will be animated
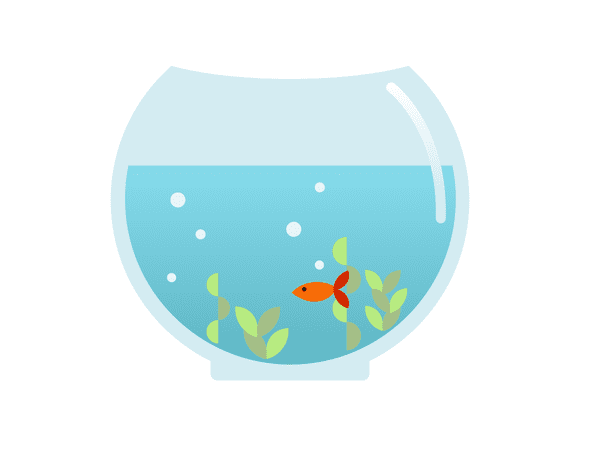
In this particular case we'll be only animating the bubbles. That also means that the fish bowl, including the glass bowl, the water, the reflection on the glass and the plants, will be static. That is important to note since it will guide us on how to group our slices to make the best use of them.
Keep in mind that Haiku allows you to group and ungroup elements on stage. That is particularly useful when you have a more or less complex comp (like in this case), since you can export it all in one group, and then ungroup it in Haiku to maintain their original position.
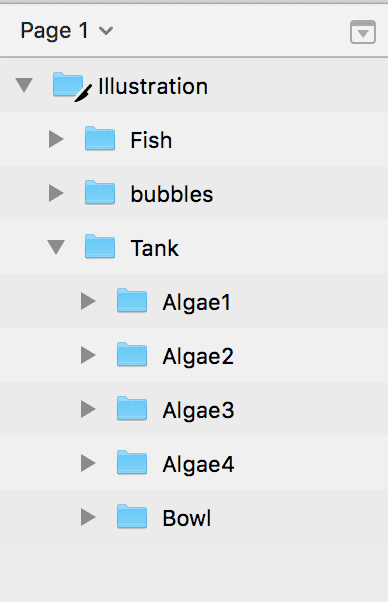
For this project, we grouped the slices in the following way:
Note that we only marked the highest level group as exportable, to later ungroup it in Haiku.
Building our animation in Haiku
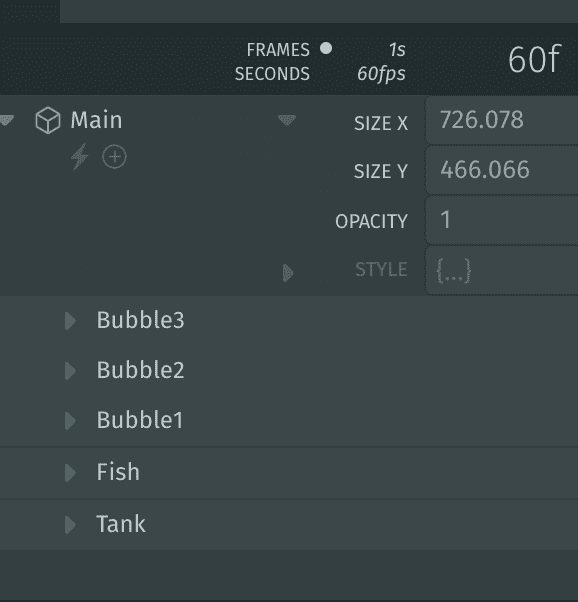
Once in Haiku, we dragged the illustration from the library to the stage, ungrouped it, and then ungrouped the “bubbles” group, since we'll be animating each bubble separately. This is what our timeline looks like:
Like we mentioned before, we won't be playing with the “tank” and the “fish” groups. Let's start working our bubbles. Our goal is to create the illusion that the bubbles are naturally floating to the top of the tank. For this to happen, we need to make the bubbles follow a curved path.
Step 1: Prepare the start of the path
At frame 0, we need to place our bubble at the bottom of the tank, with full opacity (Opacity=1).
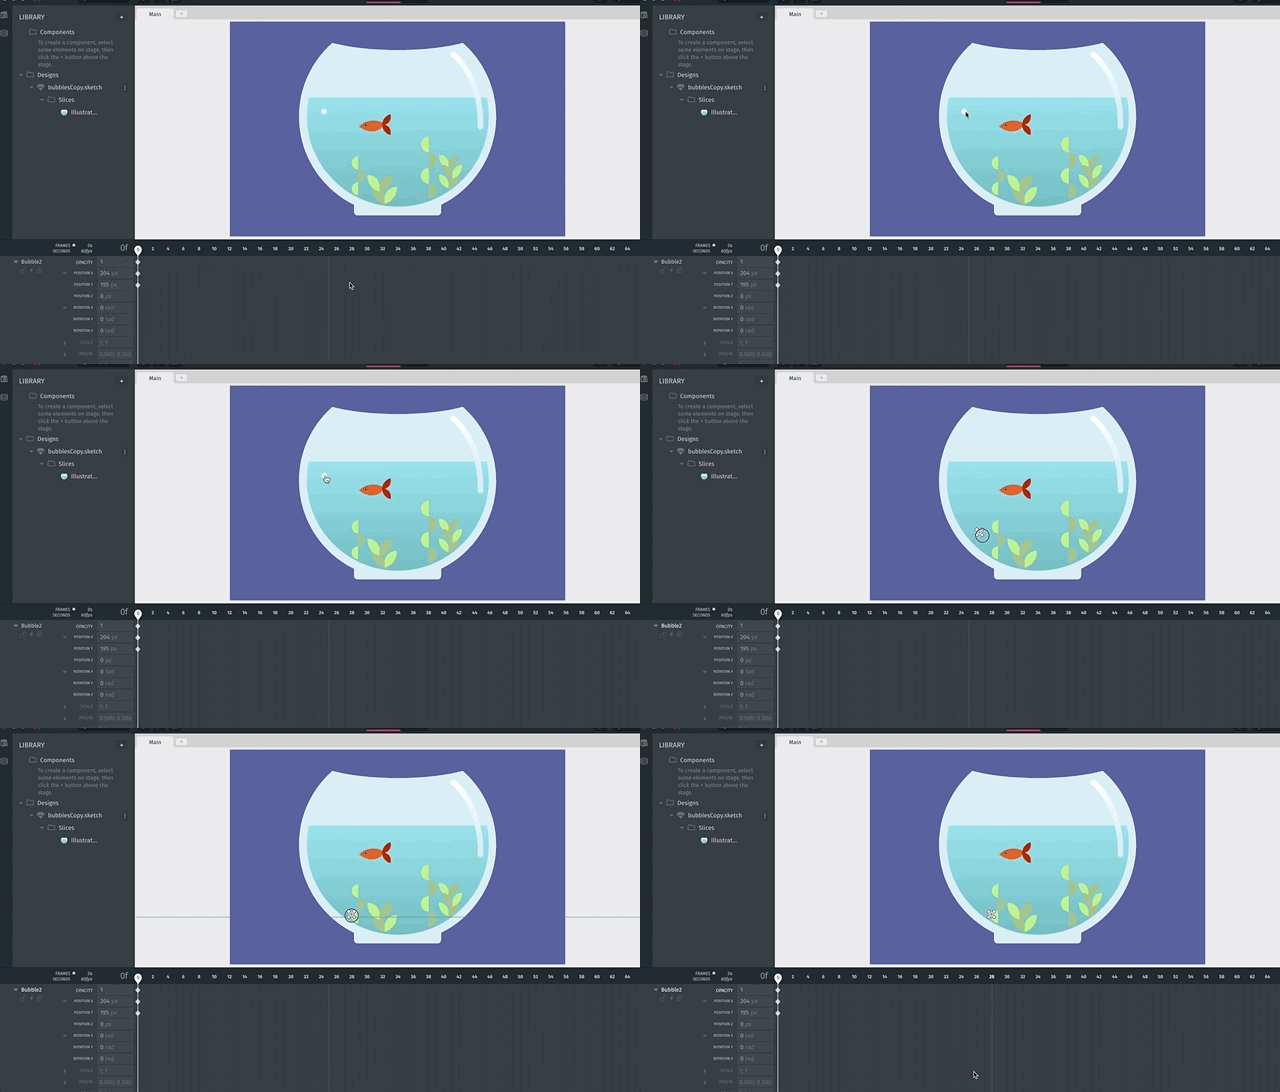 Step 1
Step 2: Create the edge of the path
We will move the ticker to frame 20, and re-position our bubble at what we imagine to be the edge of our curved path. We will then repeat this process at frames 40 and 60, moving the bubble each time.
Whenever we move the ticker to a point in time, and make changes on the stage, those changes get reflected on the timeline's properties panel in the form of keyframes with specific values. You can also create keyframes and change their value directly on the timeline.
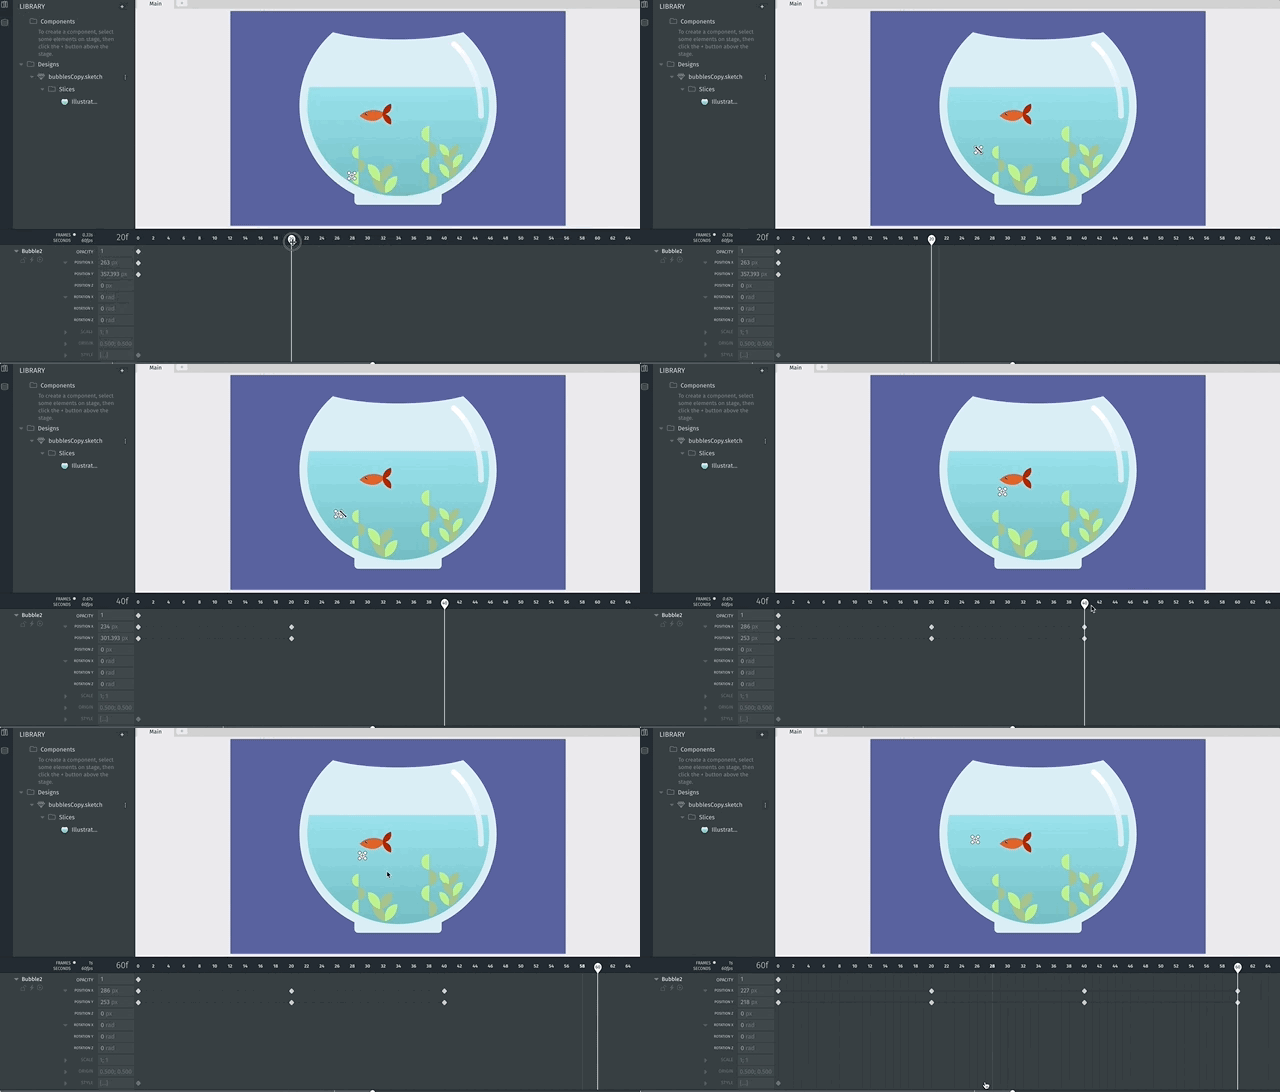 Step 2
Tip: You probably noticed that we've added a background color to our animation. You can do that right from inside Haiku.
Step 3: make the path curved
In step 2 we created the path that our bubble will follow. Now we need to make that path curved. For that we'll use a mix of transitions.
In this particular case we're trying to make our bubble follow a vertical curve. To make it happen we need to add different types of tweens to the “Position X” and “Position Y” properties:
- Position Y: Linear tween. Note that we manually erased all the keyframes except for the first and last one.
- Position X: Easing curve. Take your pick! Depending on the curve you select, you will of course obtain a different visual result. Note that we kept all keyframes, and that we used a mix of “Ease-in” and “Ease-out” curves of the same type (e.g. “Quad”), to create a smooth effect.
Important: If you wish to make an element follow an horizontal curved path, you'll need to invert the types of tweens described above. You'll need to use an easing curve on “Position Y” and a linear tween on “Position X”. Check out this example. You can fork it and try it yourself!
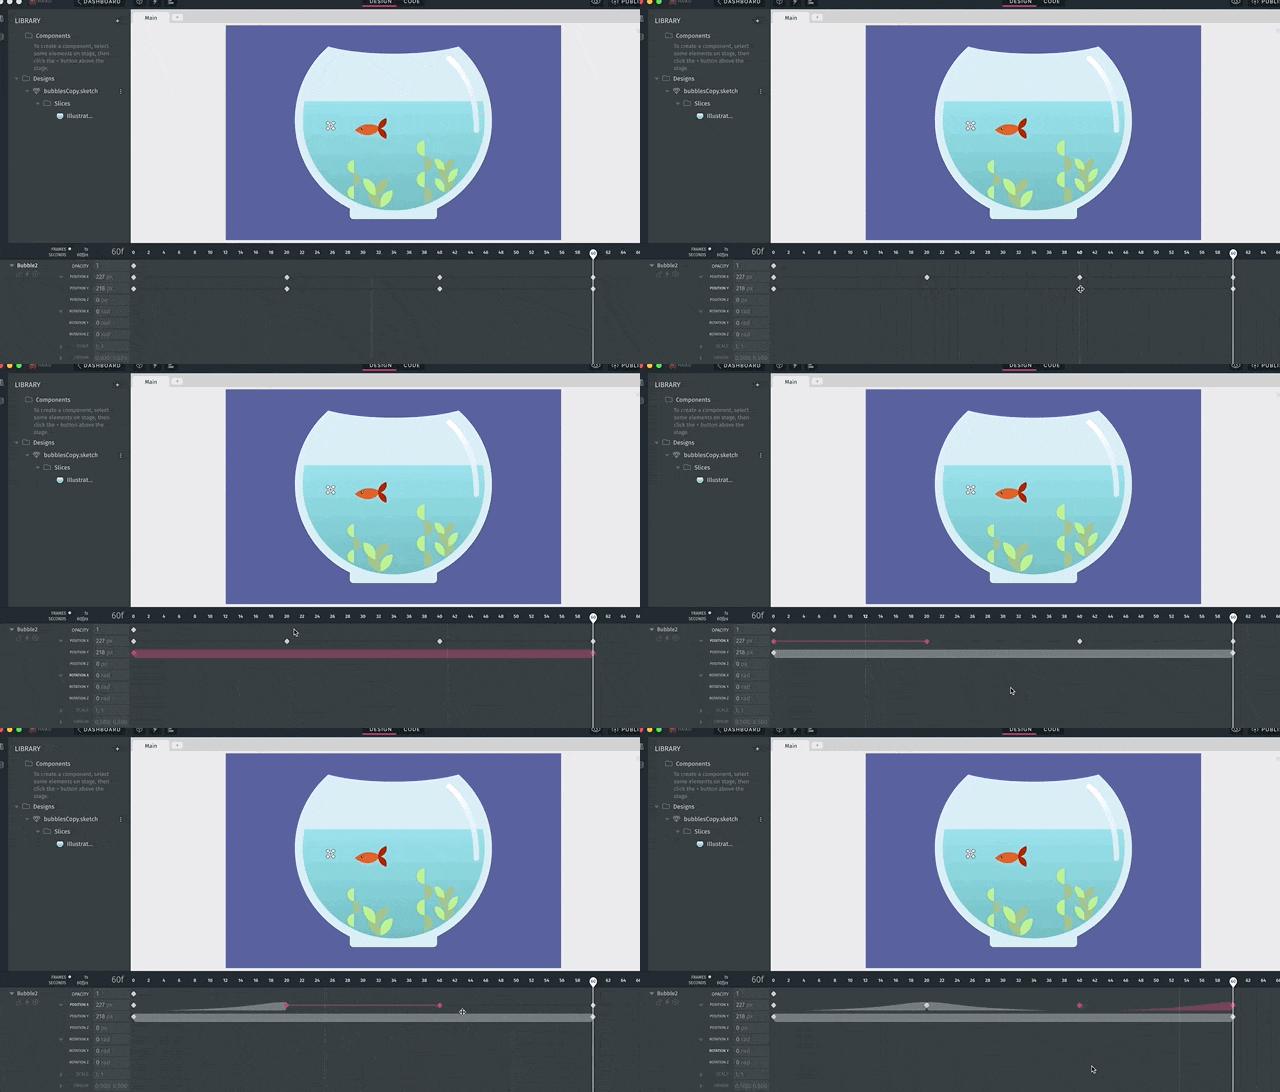 Step 3
Step 4: check if the curved path behaves as we need
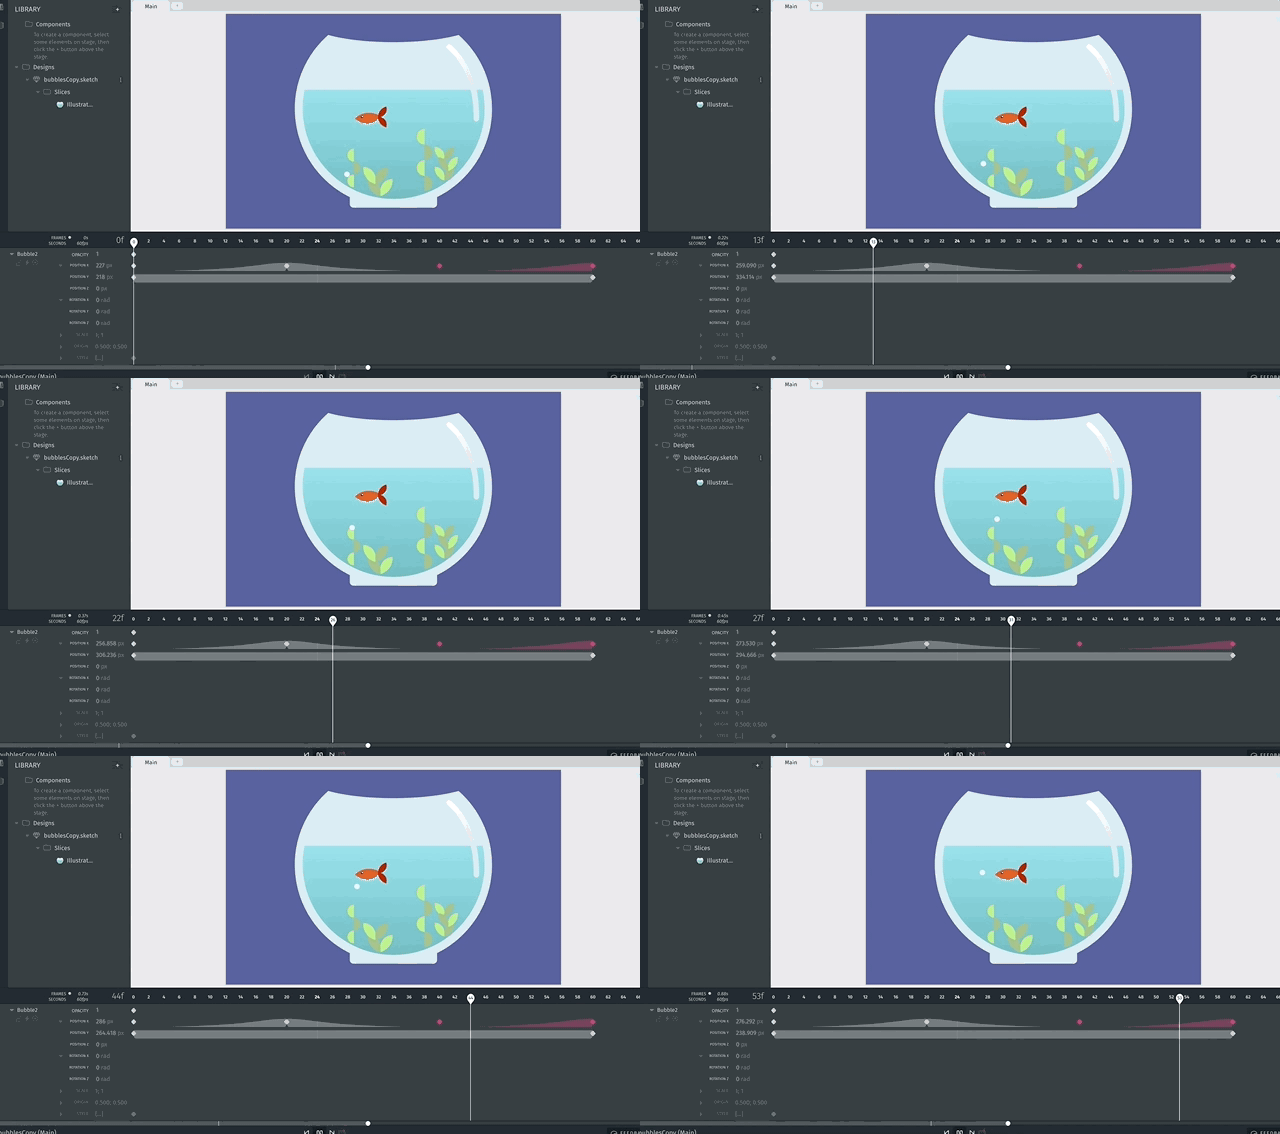
At this point, if we go into Preview Mode, we'll notice that instead of a flow-y curve, we've obtained a bounce, similar to how a tennis ball would behave if it hit a wall. That is not the behavior that we're trying to achieve, but there is a reason for that.
 Step 4
Remember when we said that by using different tweens we'd obtain different results? Well, that is what's happening now. When creating a vertical curve:
- Ease out tween: Creates a concave movement.
- Ease in tween: Creates a convex movement.
We need to adjust the position of the bubble (i.e. the “edge” of our path) and the type of easing curve to obtain the desired result.
Note that we've also added a transition for the Opacity property. The animation starts at frame 0 with Opacity=1 and ends at frame 60 with Opacity=0 with an easing curve, to give the bubble a more realistic effect.
Step 5: repeat the process with the other bubbles
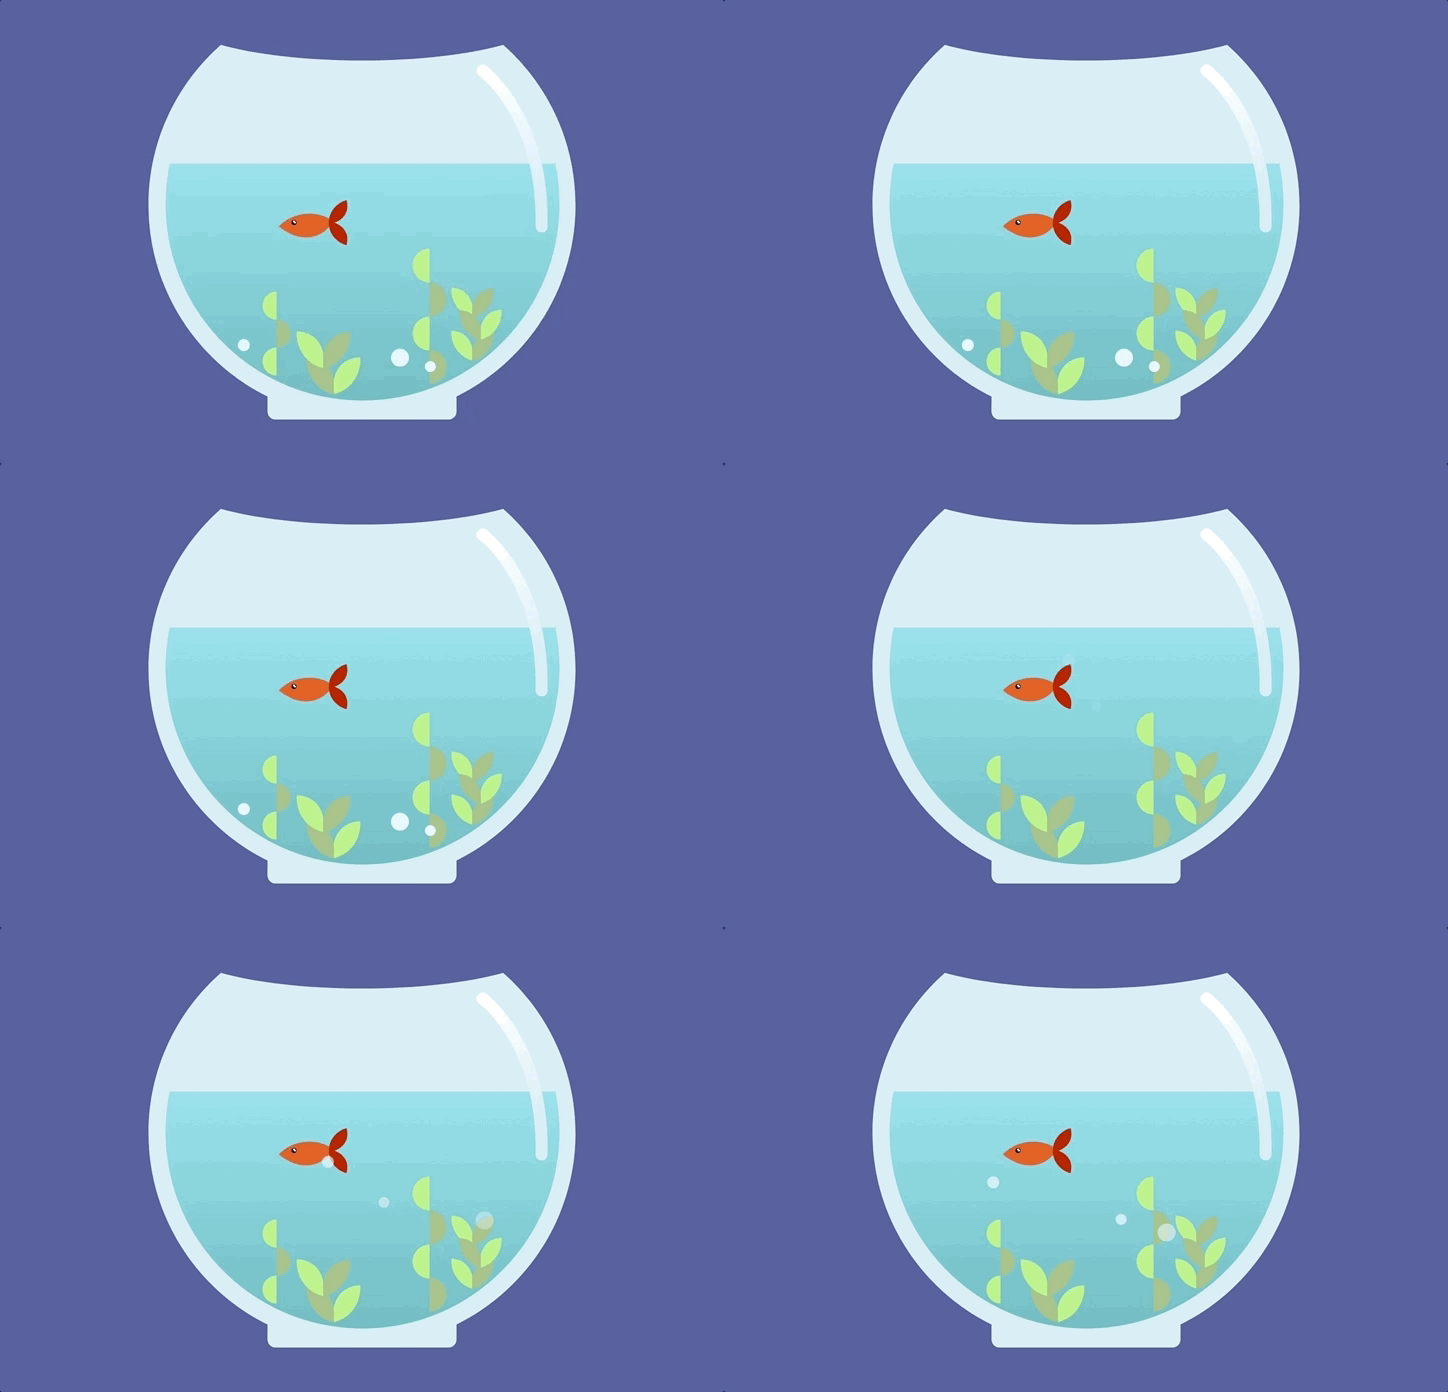
In the same way we created the edge of the path and then curved it for bubble 1, we need to do the same for the rest of the bubbles. For a more bubble-like effect you can play around with the paths and the curves so that they all behave slightly different. For example:
- Bubble 1: “Quad” curves
- Bubble 2: “Circ” curves
- Bubble 3: “Sine” curves
 Step 5
That's a wrap!
Try it yourself! Here are a couple of examples you can fork and play around with:
- Vertical curved path with flow effect: https://share.haiku.ai/u/Tina/bubbles
- Horizontal curved path with bounce effect: https://share.haiku.ai/u/taylor/booptroop
If you have any ideas for tutorials you'd like to see, please shoot us a quick email to contact@haiku.ai
See you soon!
Keep up to date with the latest on:

