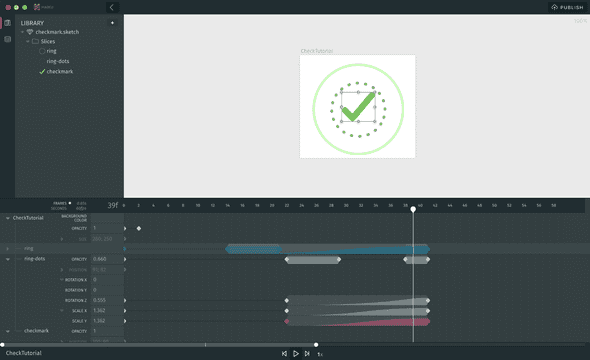
A common design goal of modern digital products is to surprise and delight users, and motion design can be a powerful tool in your arsenal to do that. Entertaining loading animations, gratifying feedback and using motion to lead the eye between transitions are all great ways to elevate your user experience.
Paul Stamatiou summarised our thoughts well on where designers should fit in this equation over three years ago:
"If you're a designer, please learn motion design skills. At 60fps there's 58 frames you need to design between Mock A and Mock B" #io14
— Paul Stamatiou 📷 (@Stammy) June 26, 2014
Sadly, most modern design tools and workflows aren’t set up to let designers actually design those 58 frames. Today’s popular workflows revolve around creating throwaway prototypes used to communicate to developers who then painstakingly recreate animations to the best of their eyes and ability in code.
Not only is this a waste of time and resources, but the process is so fatiguing that even seasoned designers and developers end up settling for “good enough” implementations. And if they want to iterate on their designs after trying out a concept, they’re back starting again from square one.
Haiku is different
Haiku is a modern design tool that empowers designers and developers to build imaginative UI components. Code optional. With its visual timeline, it’s easy to design interfaces powered by motion.
Everything authored in Haiku is production ready, and once integrated with your codebase you can continue to iterate on your designs. No hand off necessary.
Thinking in time and space
Before we roll up our sleeves in Haiku, it’s useful to think about how we want to translate our designs into motion, by thinking like an animator—in time and space.
If you’re new to motion, one simple way to do that is to storyboard. Storyboards were popularised by Walt Disney Productions in the 1930's as a way for animators and directors to communicate a story as a sequence. In interaction design, storyboards can help us determine:
- What elements we’ll need
- What properties we’ll manipulate
- What keyframes we’ll begin with (more on those later)
For example, let’s storyboard a bouncing ball, which we’ll use to get started in Haiku:
From this simple storyboard, we can determine:
- We need 2 elements; the ball and the shadow
- We’ll want to modify the position of the ball, the scale of the ball and opacity of the shadow
- We need at least 3 keyframes for our animation to seamlessly loop
When storyboarding, try not to get hung up on small details — a lot of the magic in motion happens when animating and iterating on your designs visually. Just figure out enough to get started.
Getting started with Haiku
Watch the video tutorial or read on if you’re more of a GIF person.
Working with Sketch
In Haiku, there’s 2 ways to work with Sketch— you can either import an existing Sketch file or create new designs from scratch.
If you want to start on a new design, the best way to do that is to begin designing in the boilerplate Sketch file included in every Haiku project. Just double click to edit:
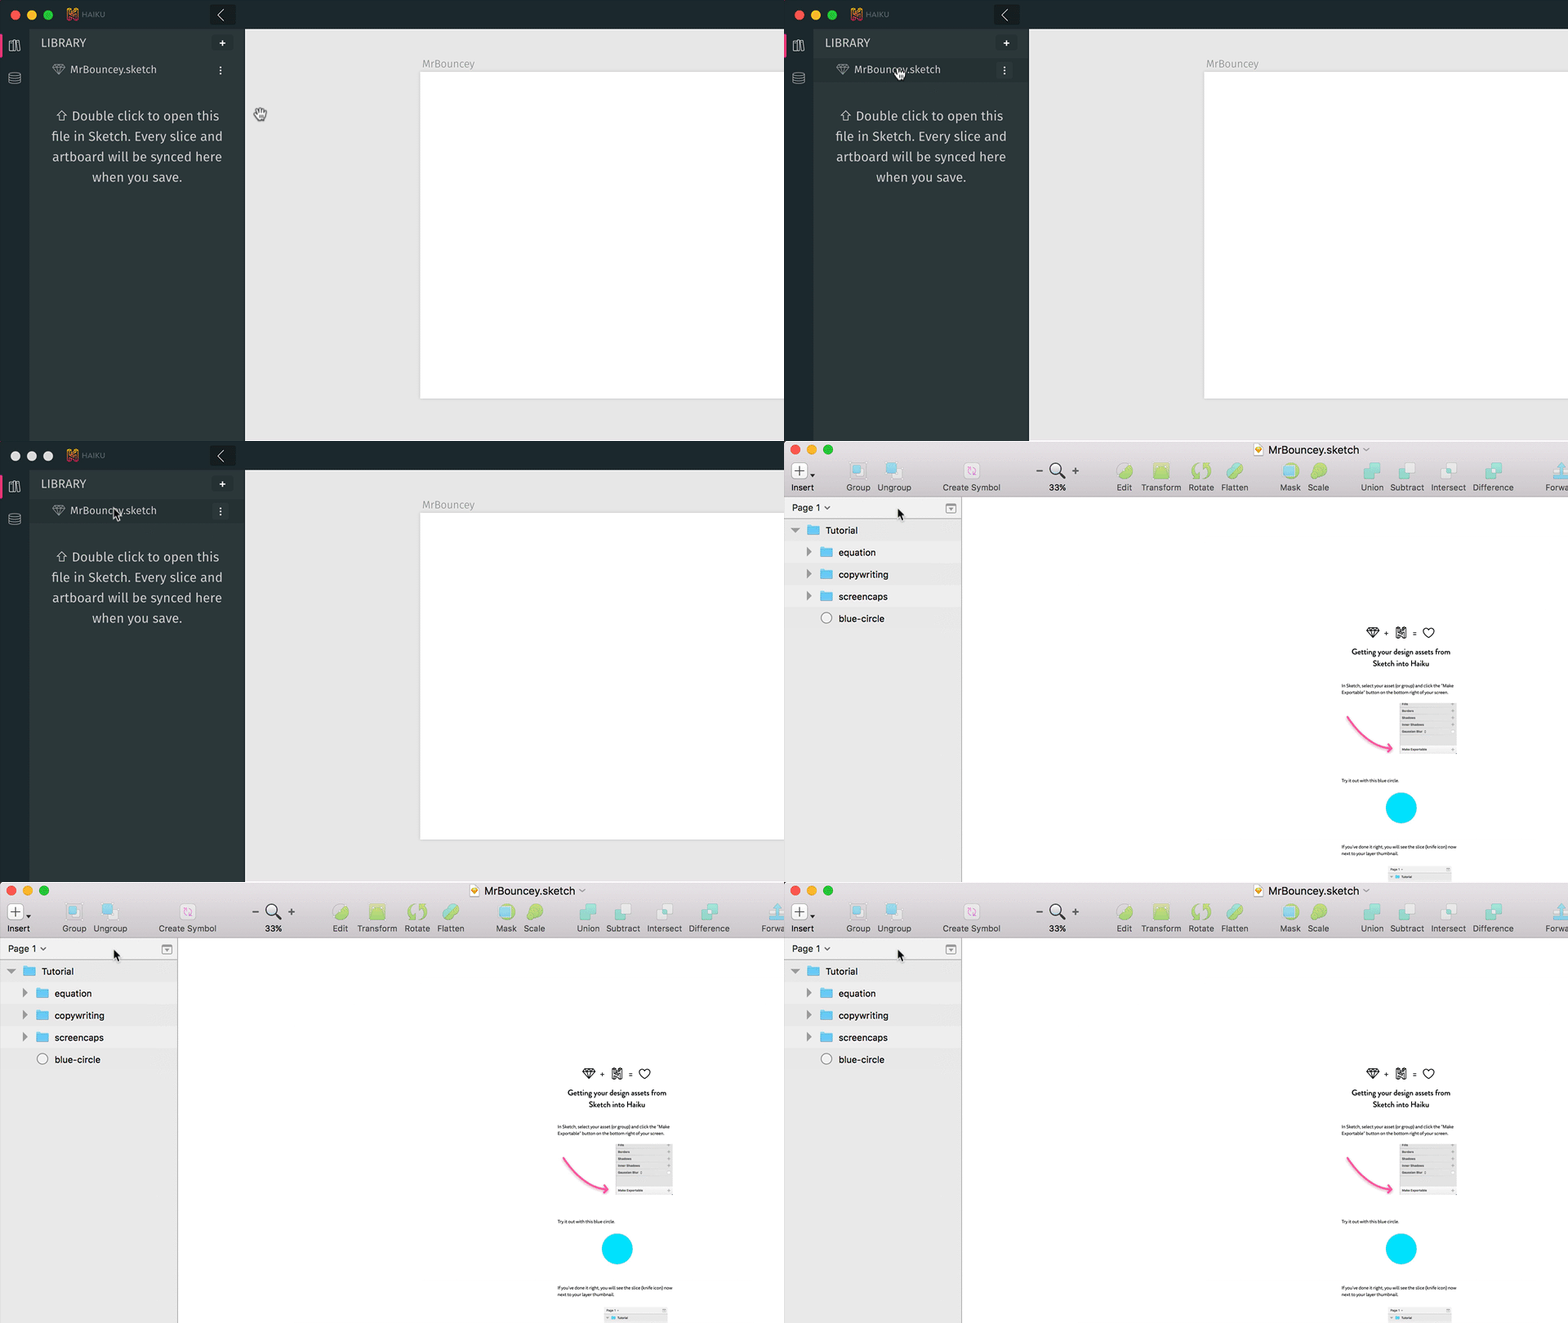 The boilerplate Sketch file contains more instructions — we’ll cover them later.
You can also import existing Sketch & SVG files:
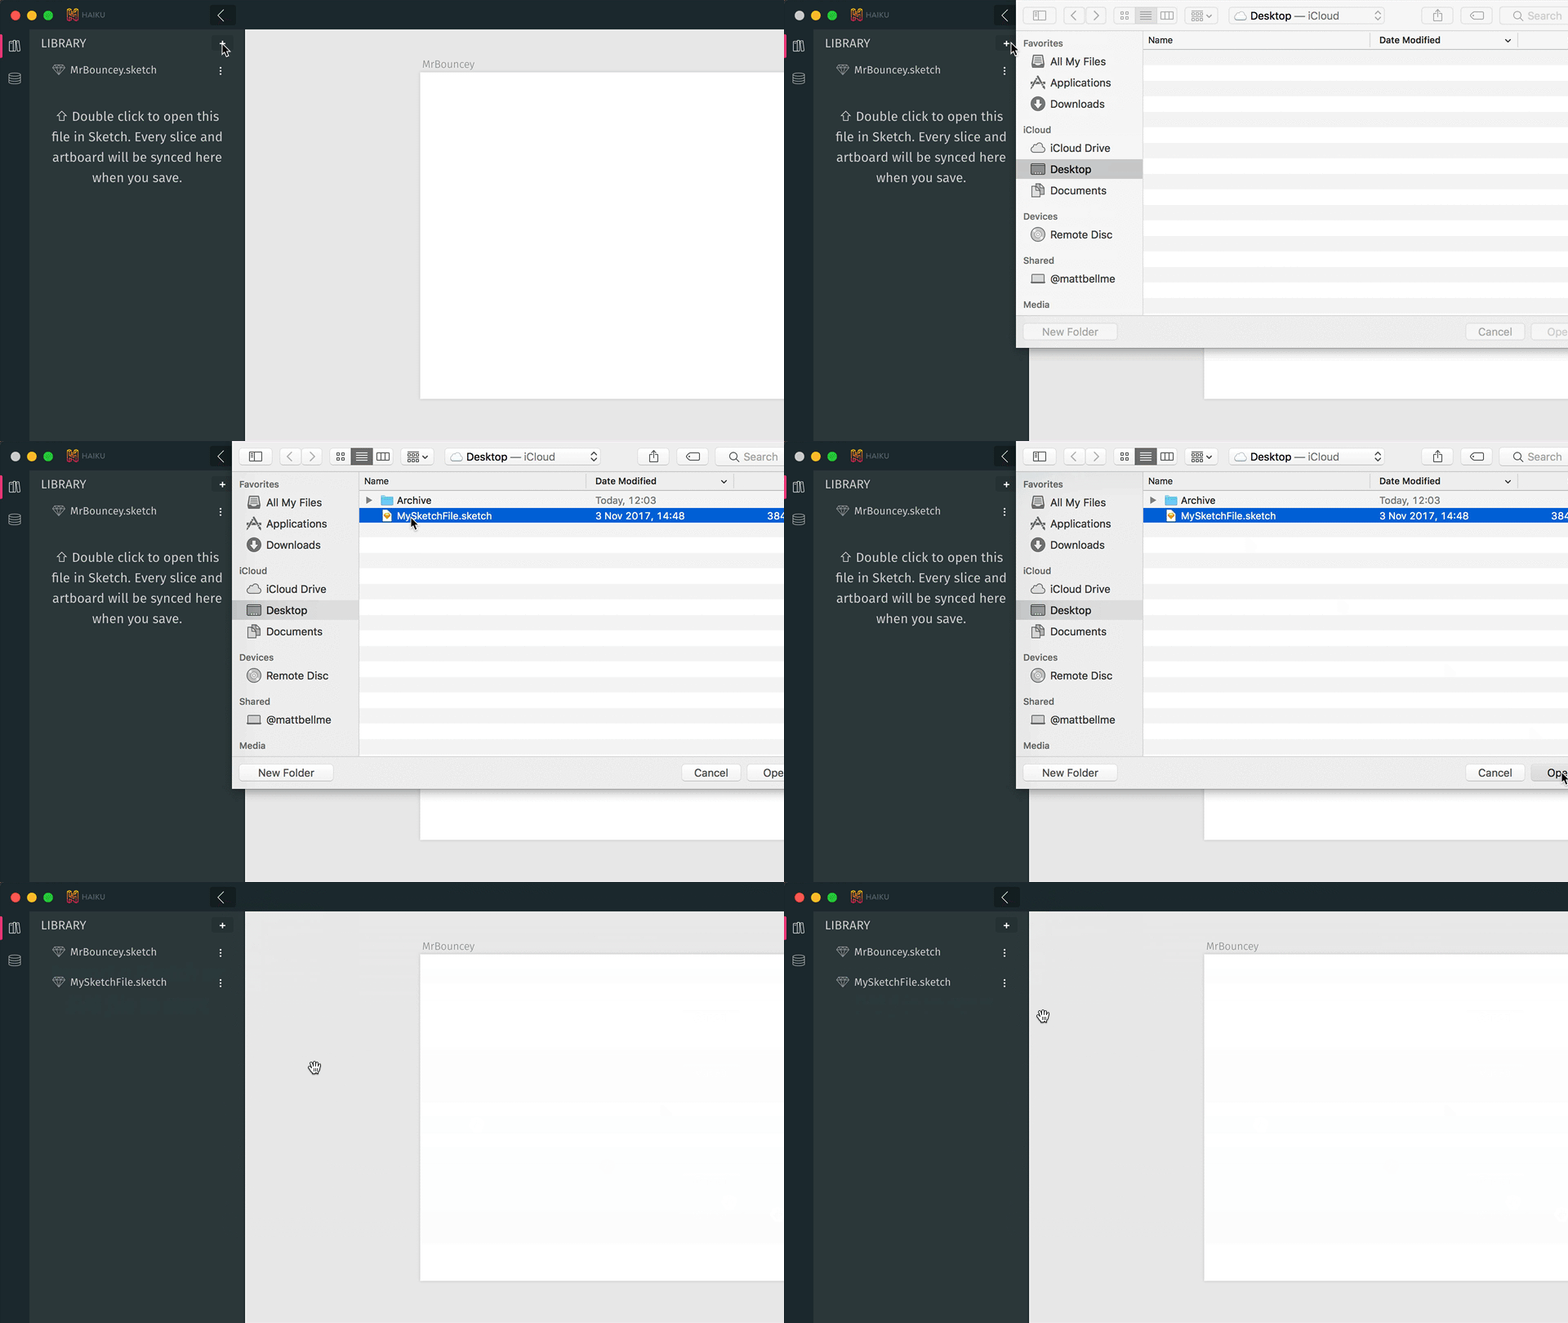 Here's one I made earlier.
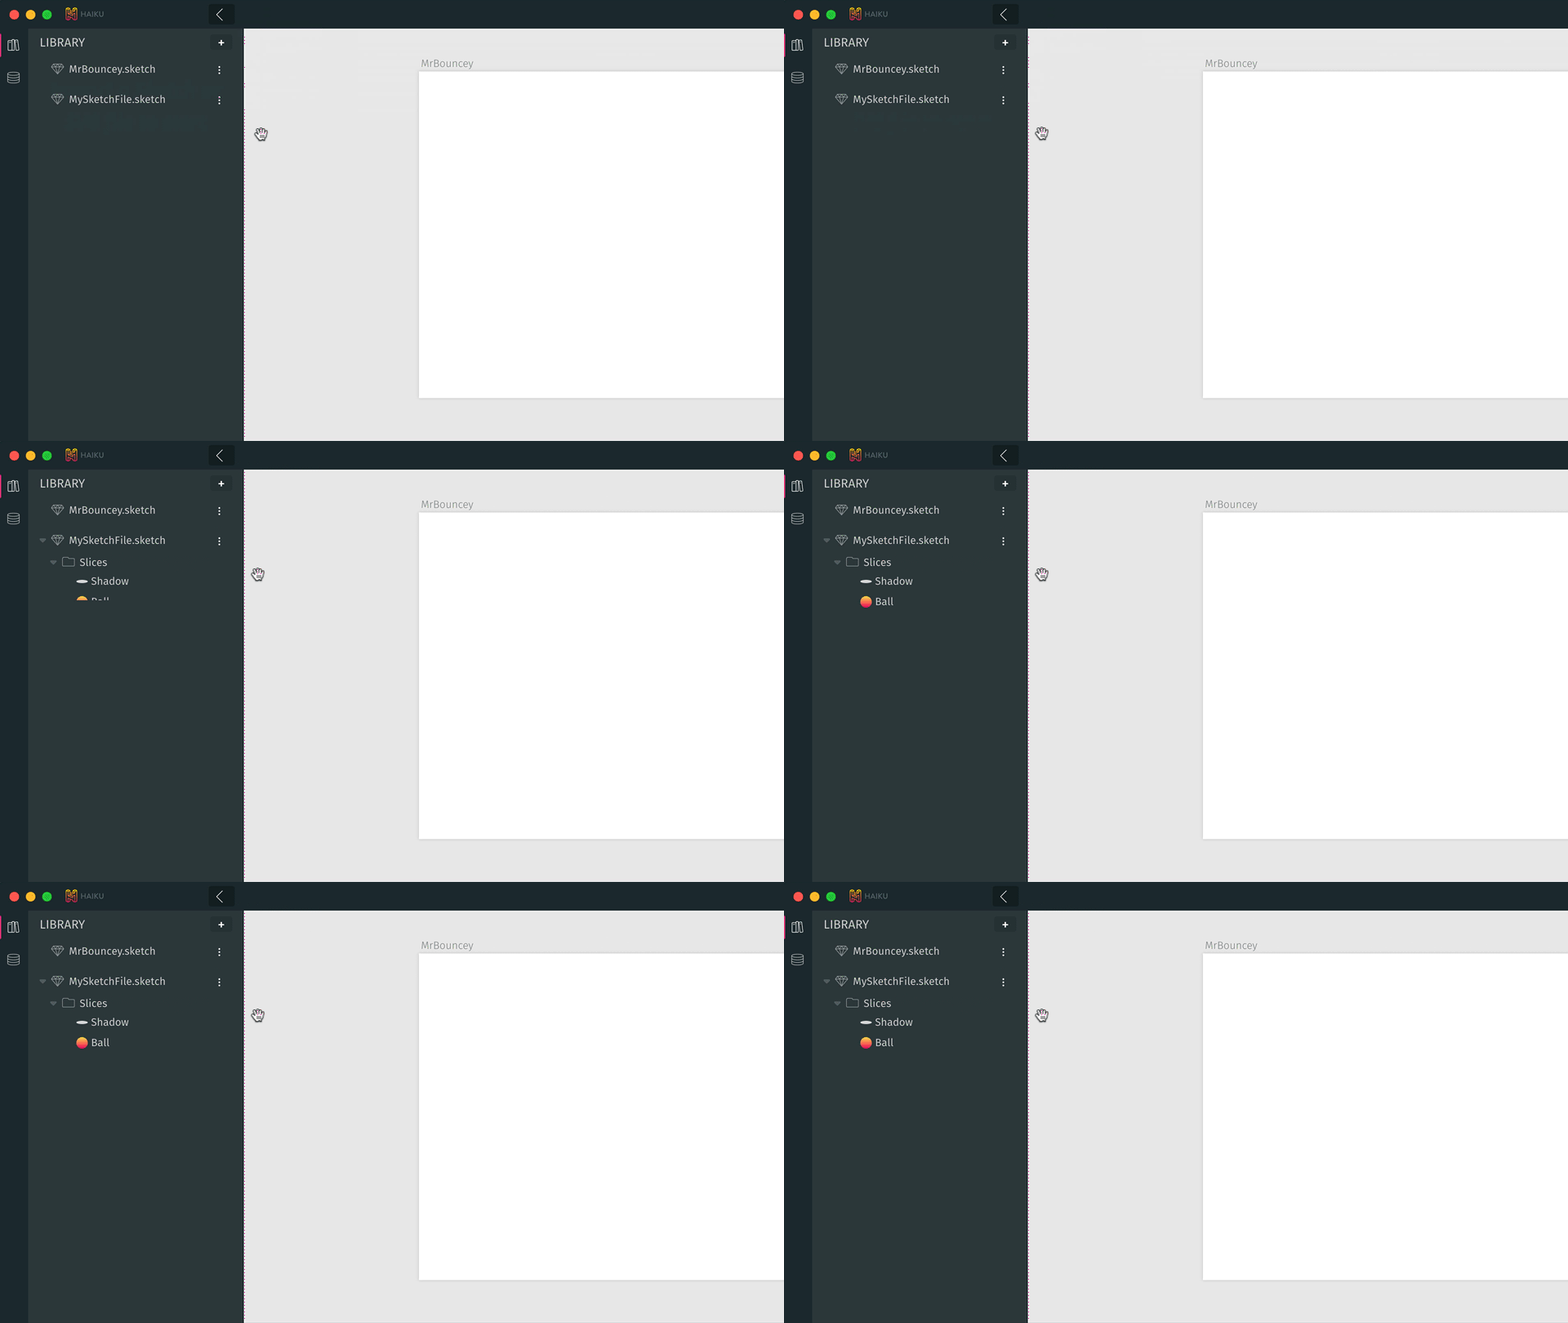
Haiku looks for artboards and slices and smartly imports them as separate elements in your library. After drawing your ball and shadow, the easiest way to convert your shapes into slices is to mark them as ‘Make Exportable’ in Sketch:
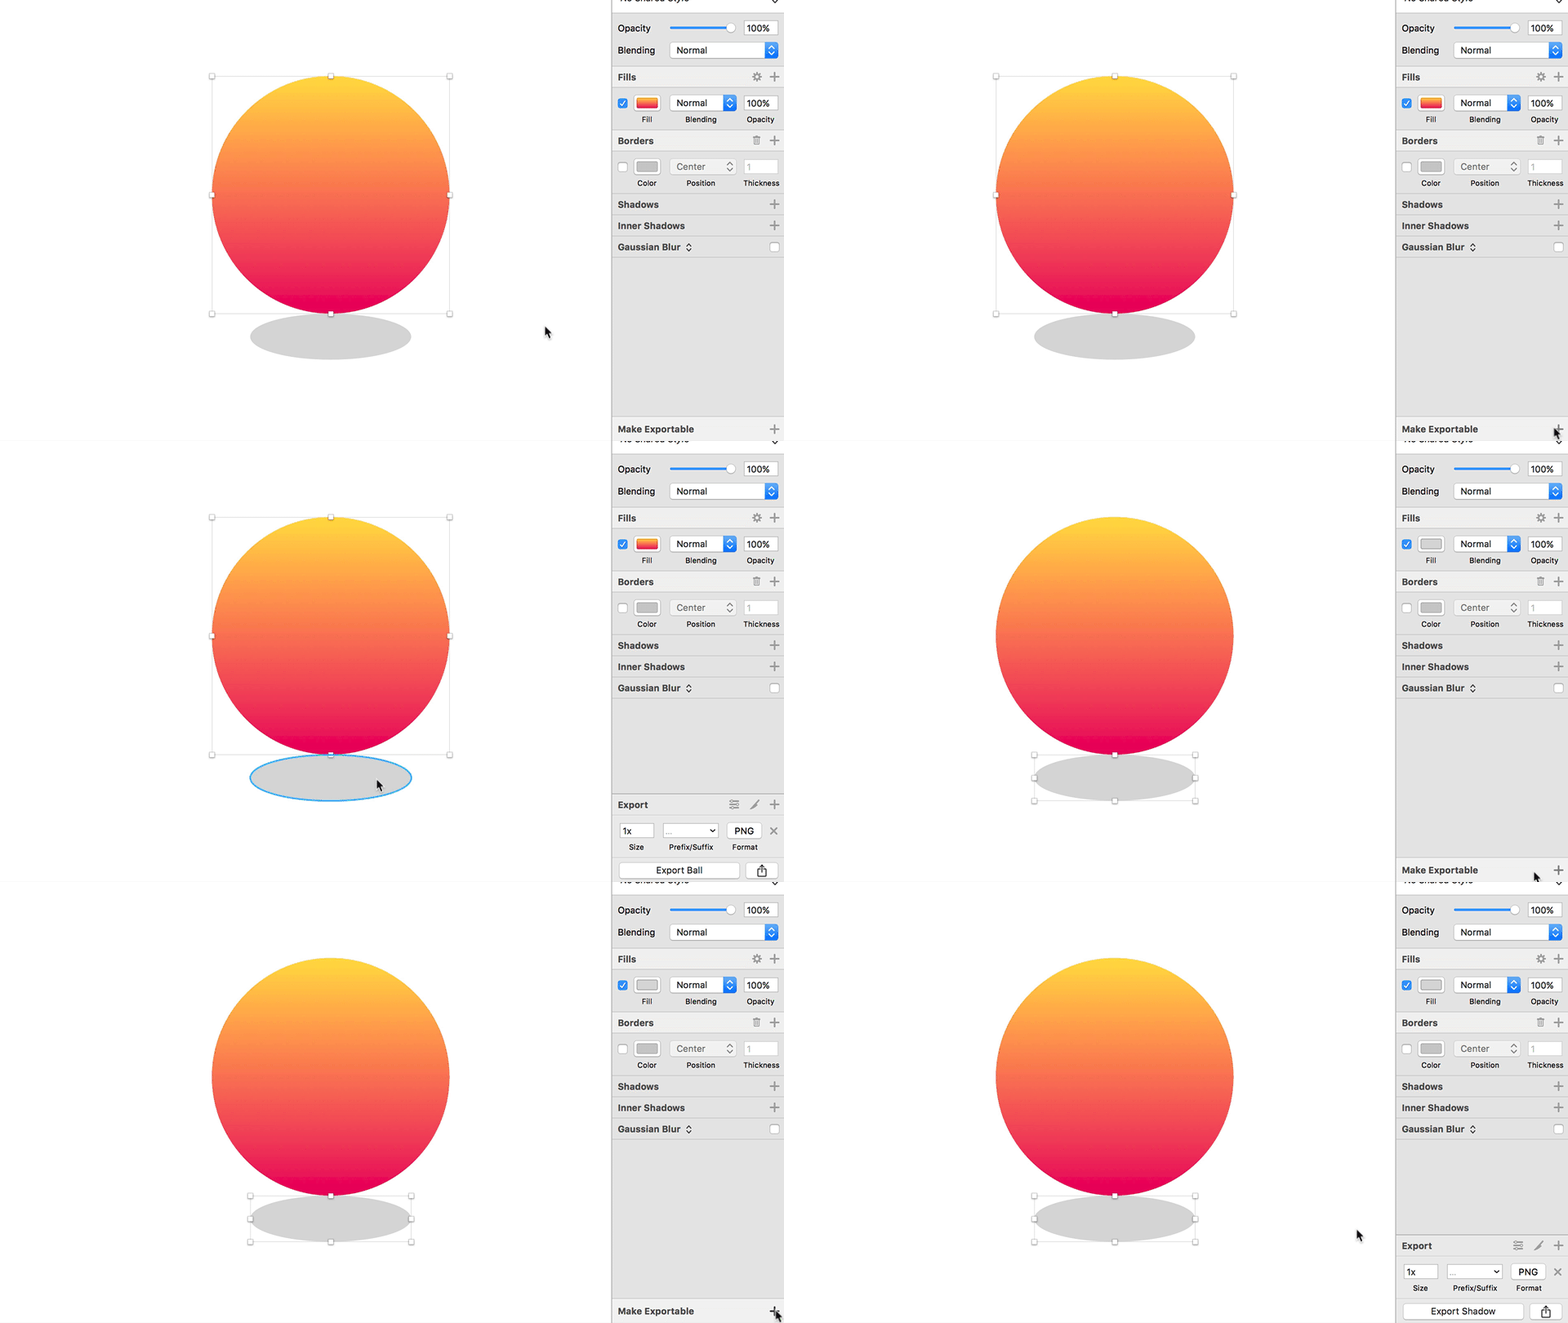
After hitting save, your Sketch slices will appear in your Haiku library:
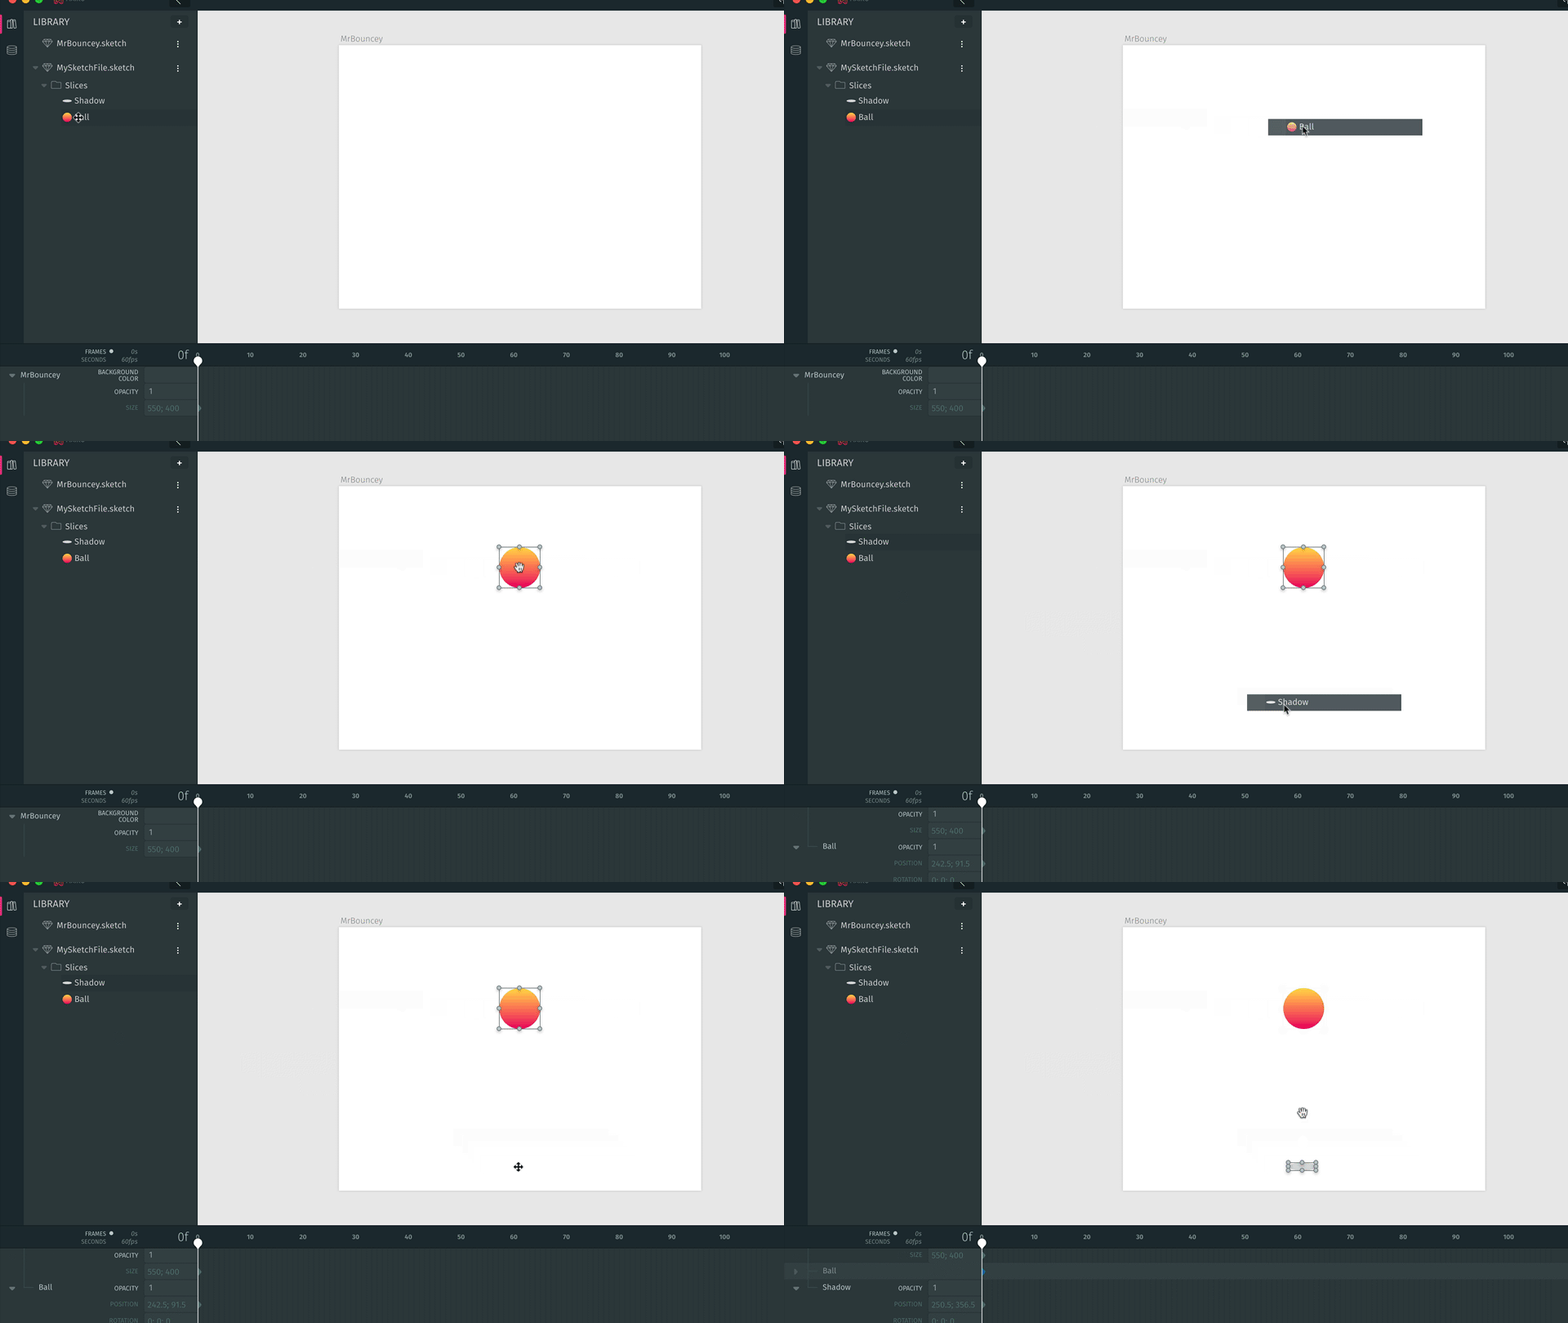
You can then drag elements from the library to the stage:
Whenever a property is edited, Haiku automatically creates a keyframe where the playhead is positioned. Think of keyframes the same way you would frames in our original storyboard.
Properties can be edited directly in the timeline, or by manipulating elements visually on the stage:
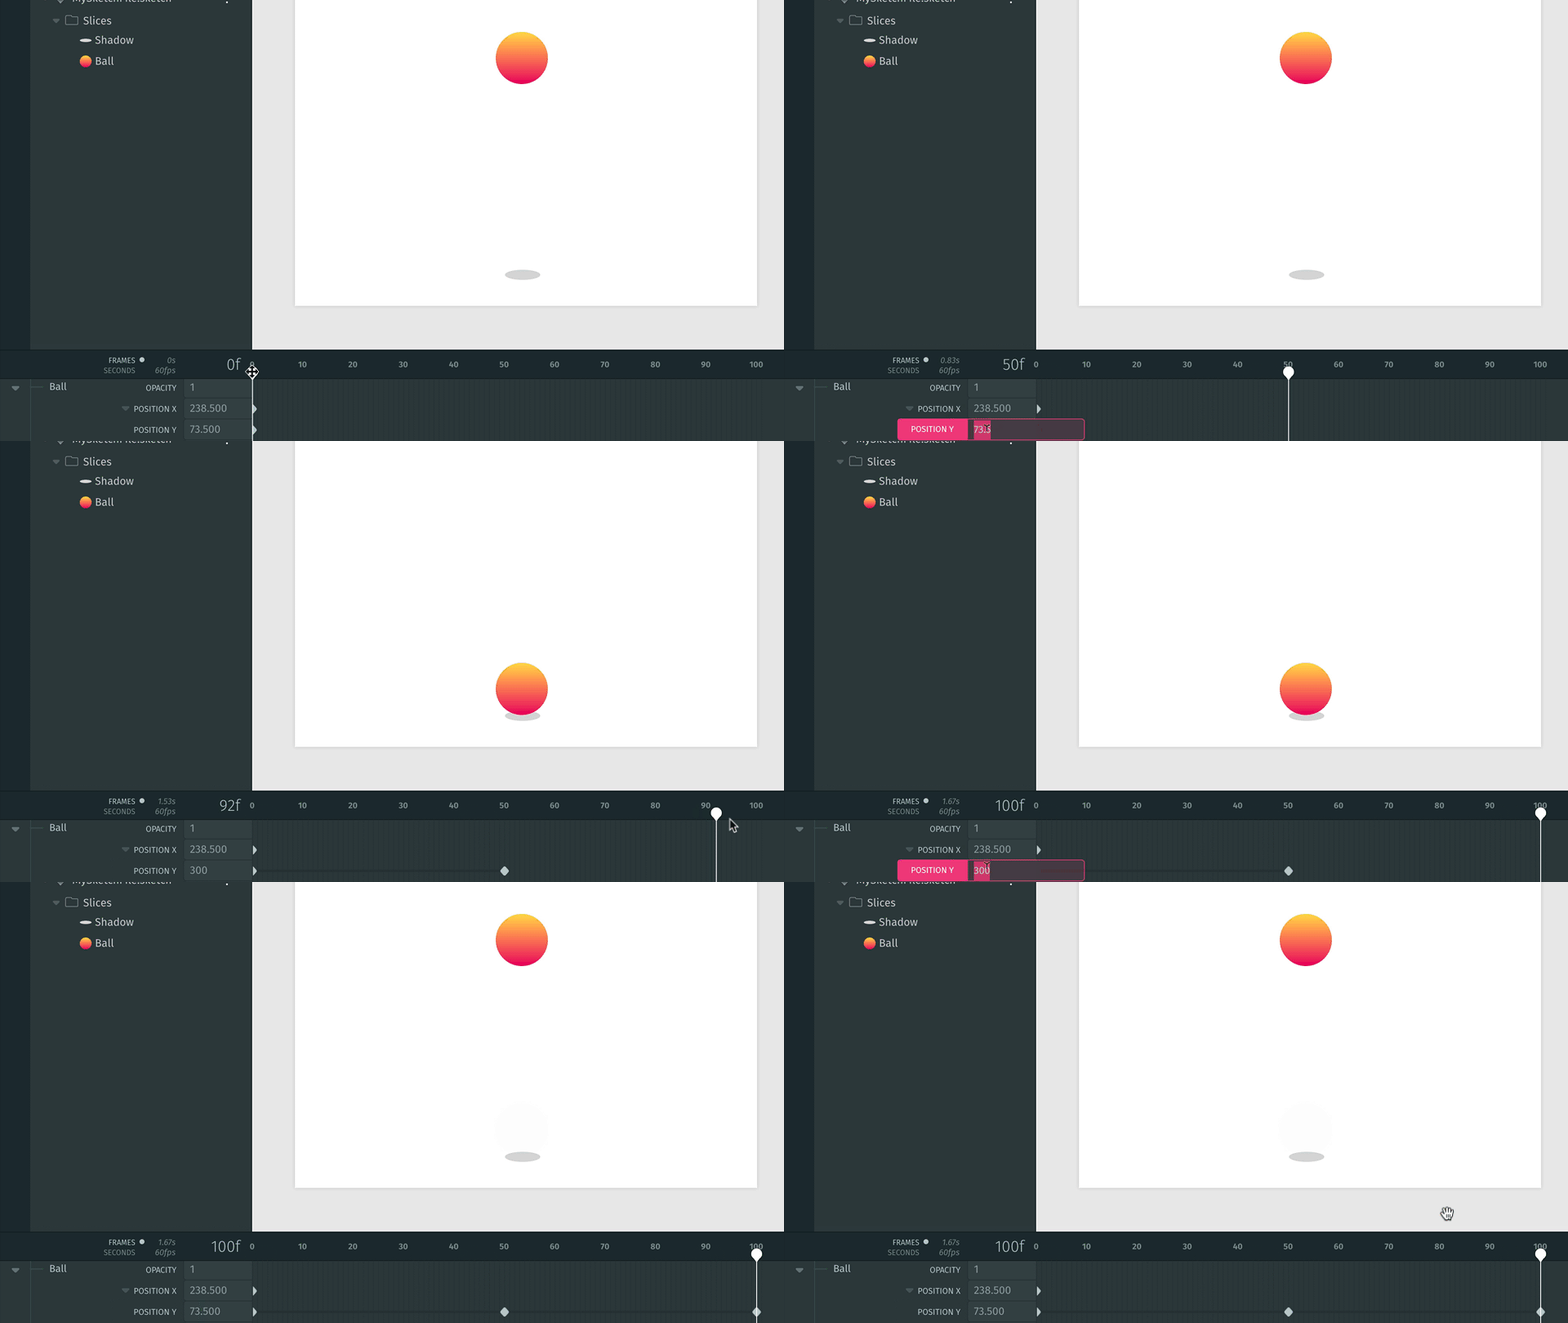 Entering accurate properties ensures a 100% seamless loop of our bouncing ball.
Now that our keyframes are set up, let’s smoothly ease between them using the built-in tween library by right clicking in the timeline. I’m using Ease In → Cubic and Ease Out → Cubic but I’d recommend experimenting with different tweens to find the right one for your animation:
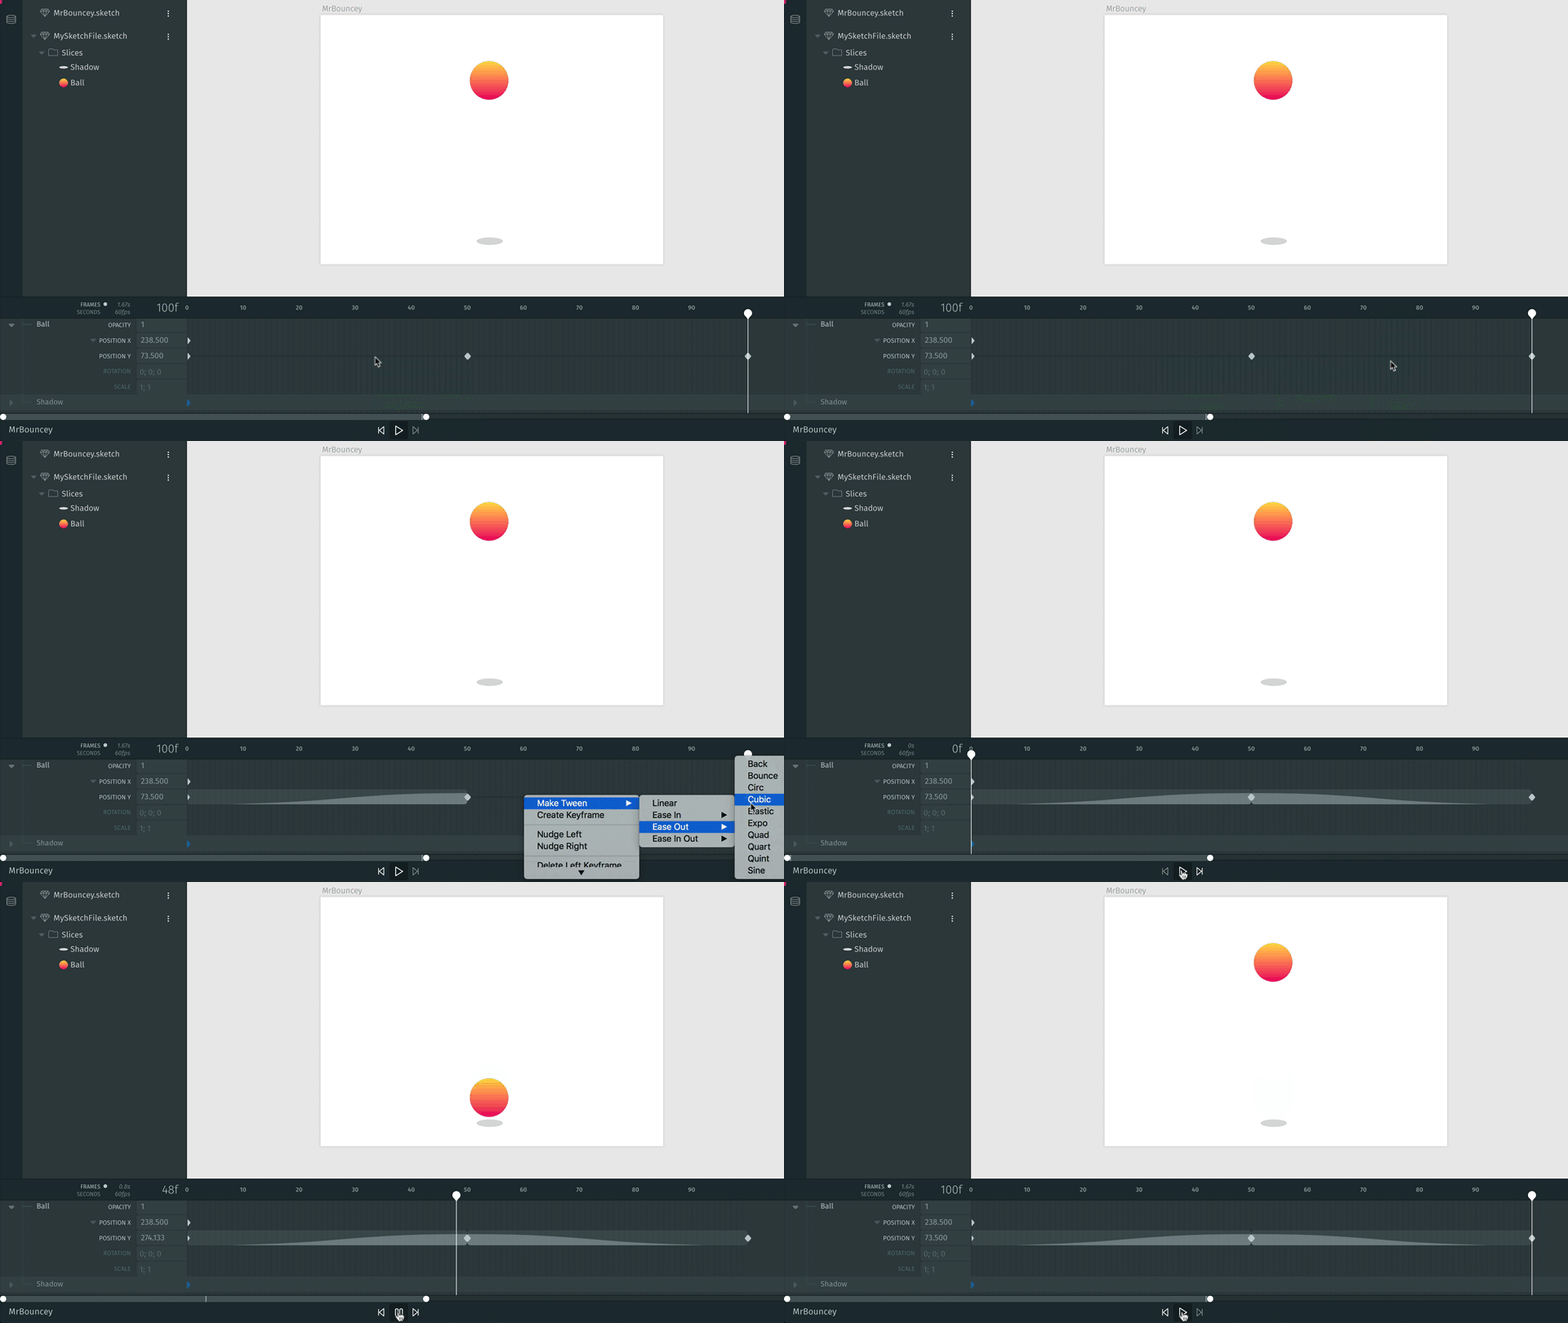 Now we're getting somewhere!
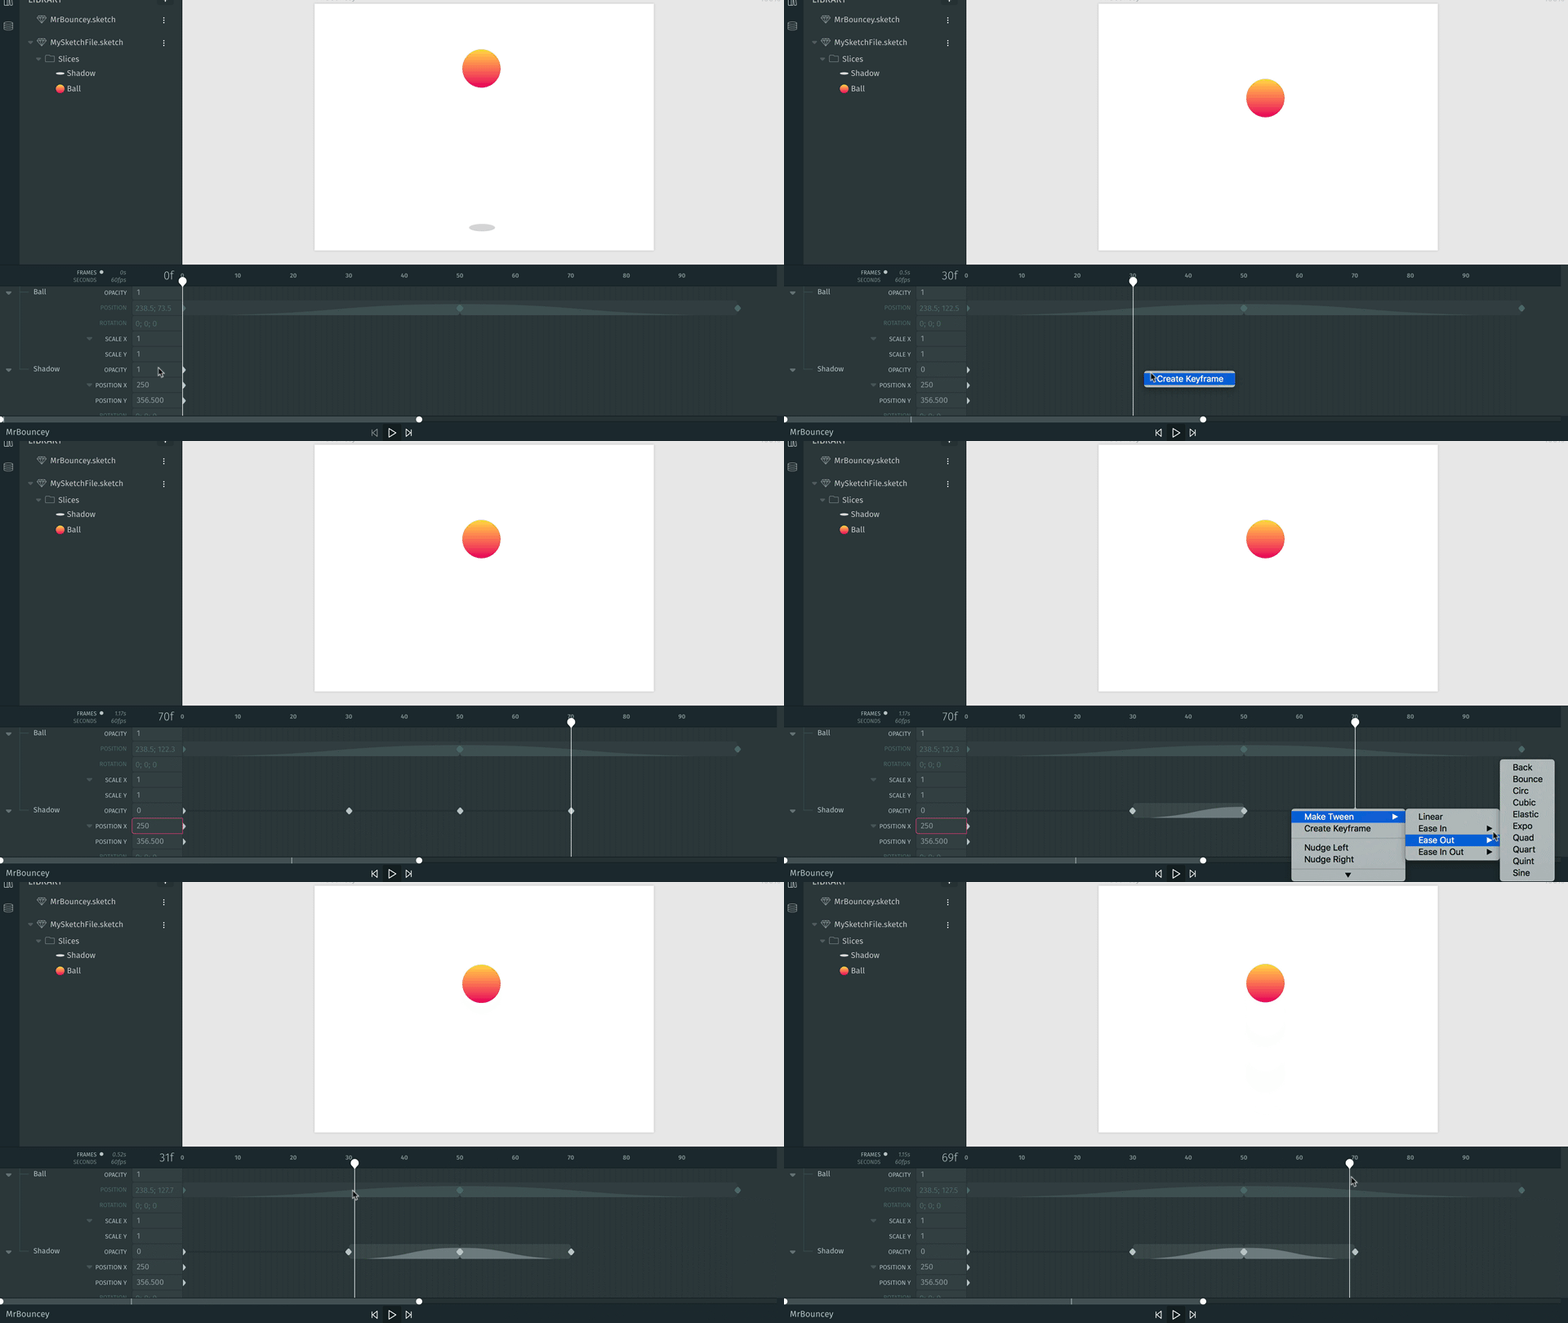
Now we’re getting somewhere!Using the basic techniques we just employed, it’s easy to add more detail. Adding keyframes part way through the timeline to reveal the shadow when the ball is near:
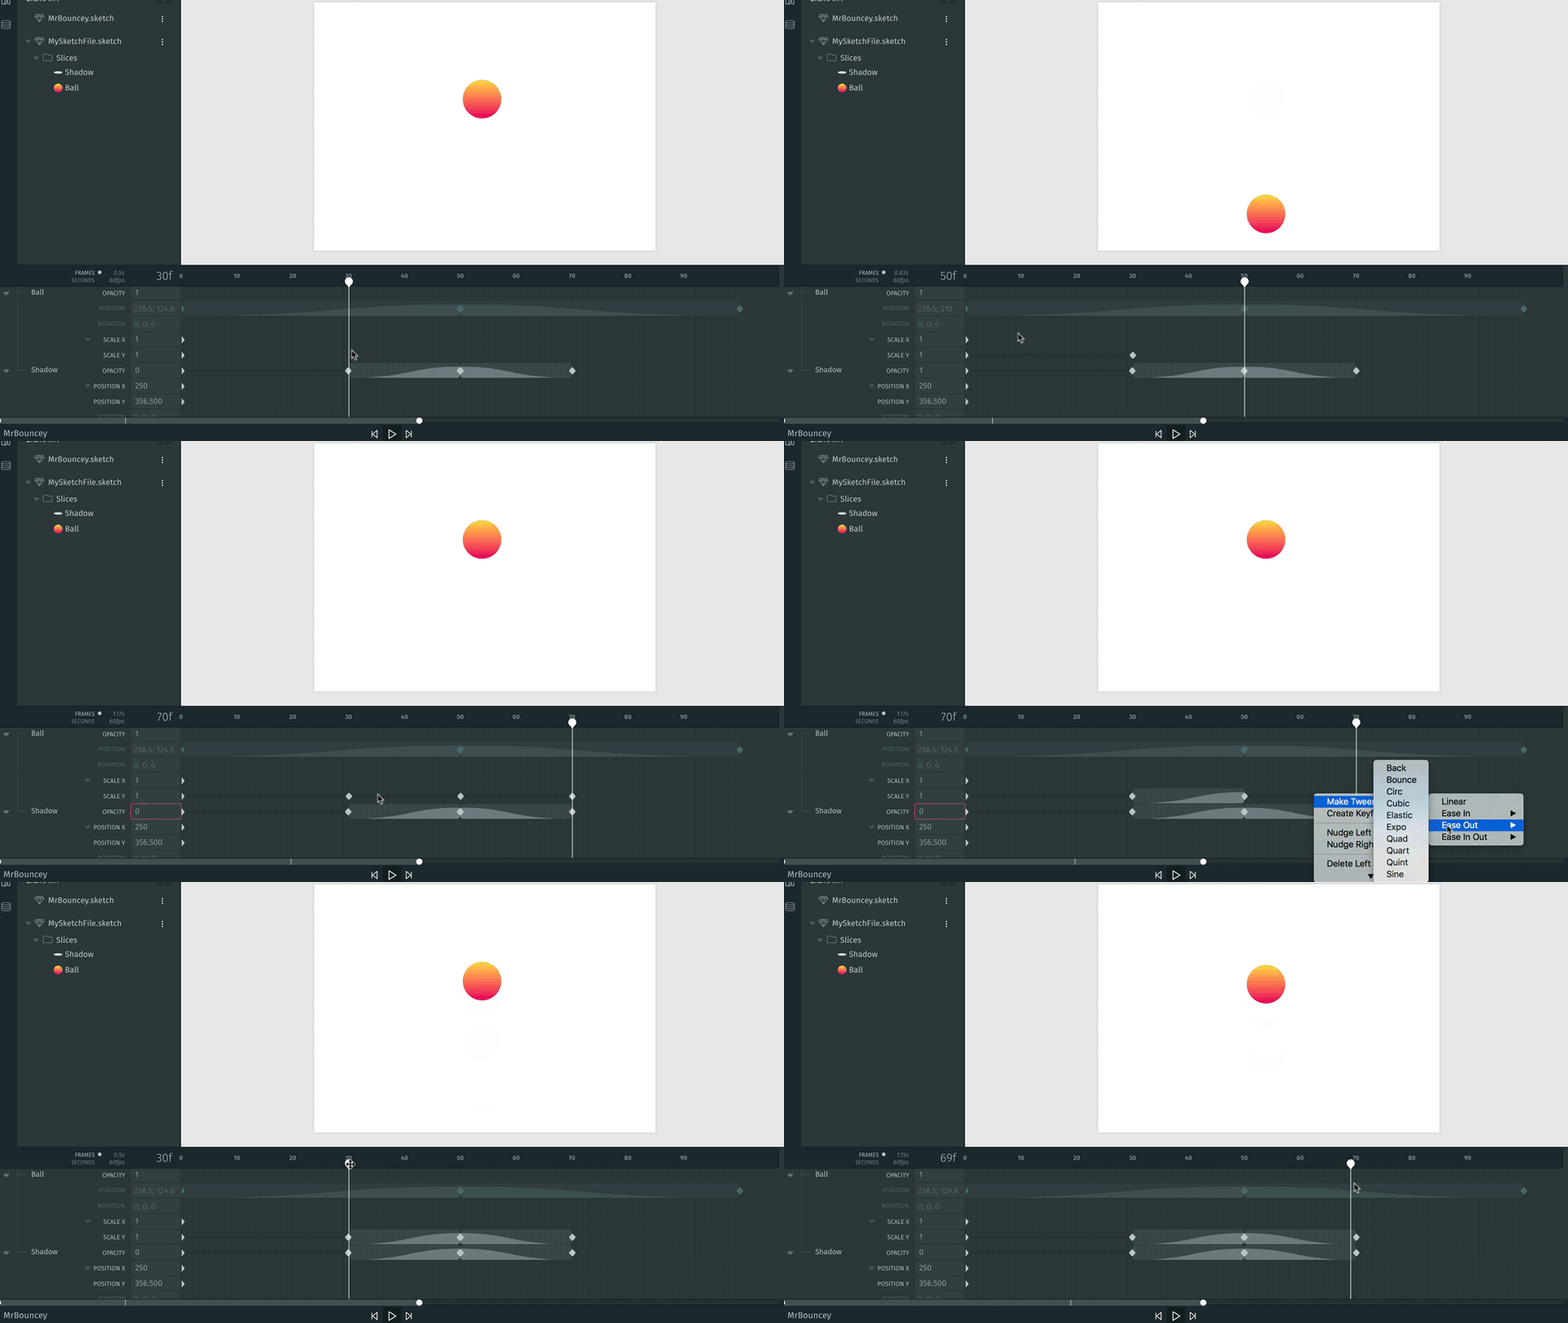
And squashing the ball vertically to emulate physics:
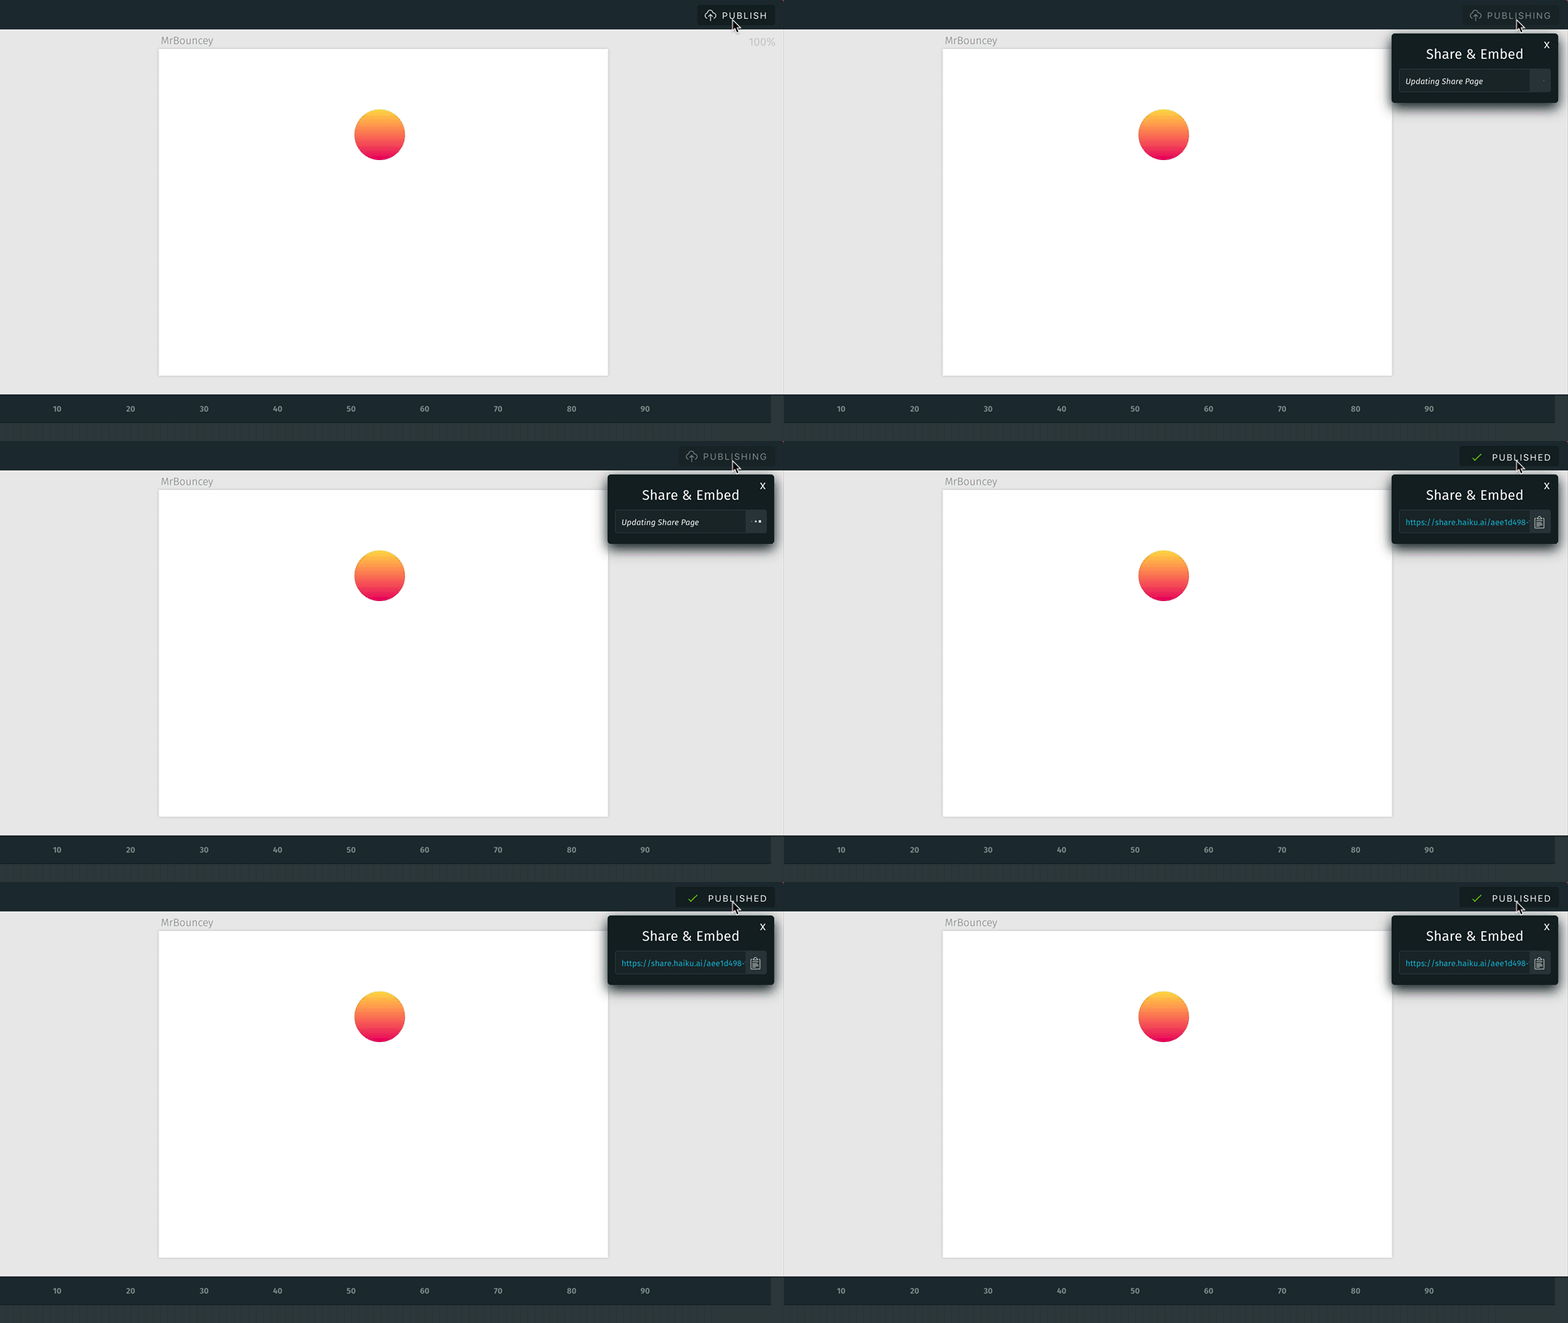
Publishing generates a unique Share URL you can use to share with others:
The share page lets you preview your haiku on the web with embed instructions:
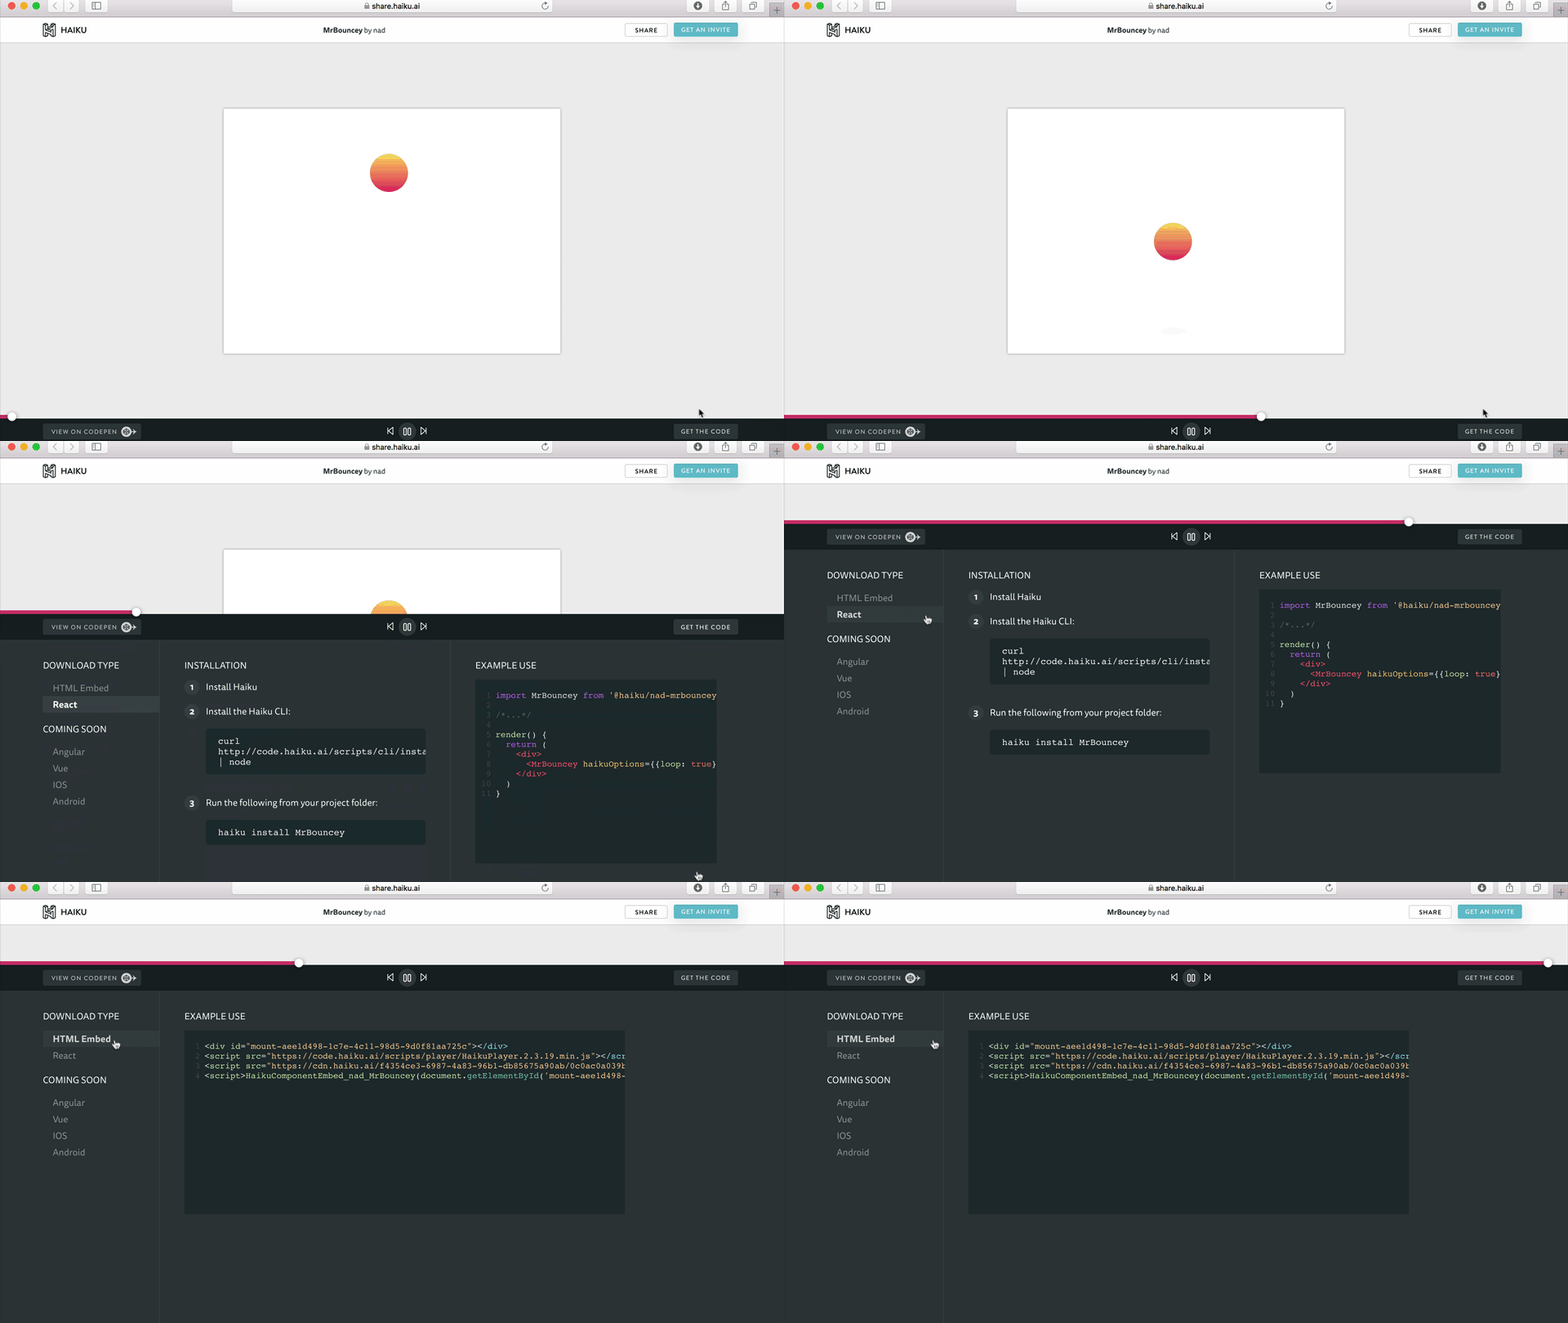 View the share page for this haiku
Everything created in Haiku is pure JS/CSS ready to snap into any web app, with native renderers for iOS & Android powered by Lottie.
That’s a wrap!
If you’ve made it this far, you should probably sign up for the private beta if you haven’t already. You can also keep up to date with the latest on:
This post was originally posted on Medium

