As you probably know by now, Haiku is a powerful tool to create pieces of UI, also known as “components”, that are ready to be snapped into any codebase.
If you've ever used a UI code framework like React, you may already be familiar with the idea of “states” inside those components. States are just buckets for data, or another name for “variables” if you're familiar with code.
Whether or not you're an expert coder, Haiku brings the power of States to your fingertips. You can use States to create UI components that work with live data, count mouse clicks, or work with dynamic colors, sizes, animation rates, and more.
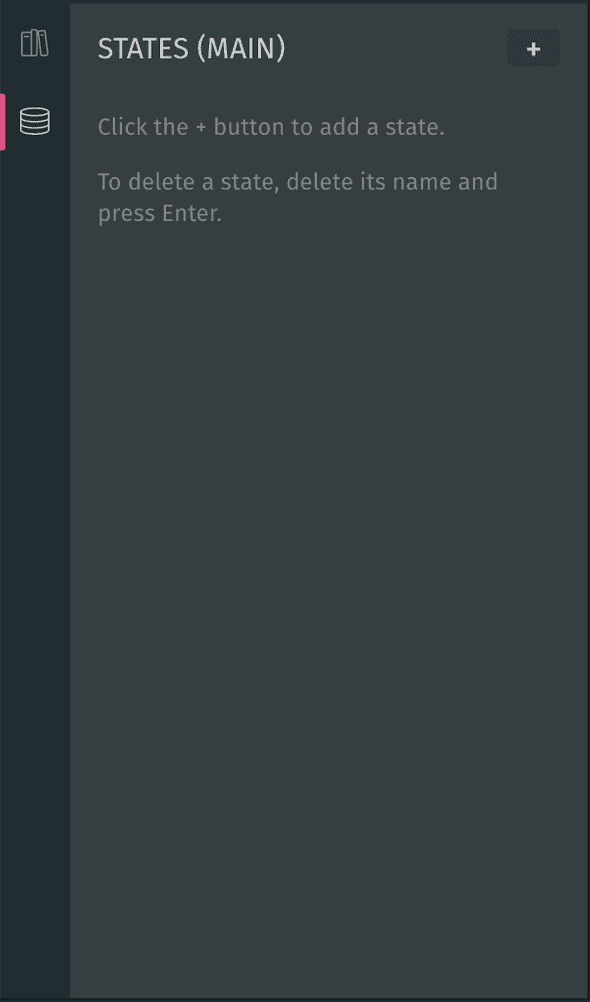
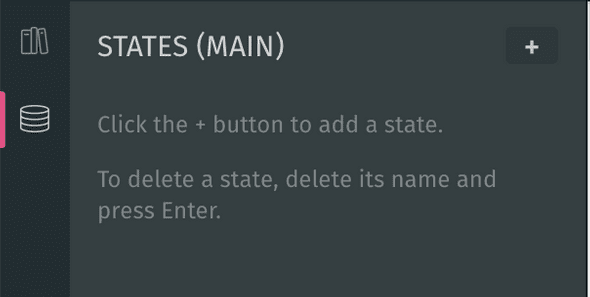
To get started with States in Haiku, first pop open the States panel:
Where can I find the States panel?
You can access the States panel by clicking on the second button at the top-left of the screen.
How do I create a new State?
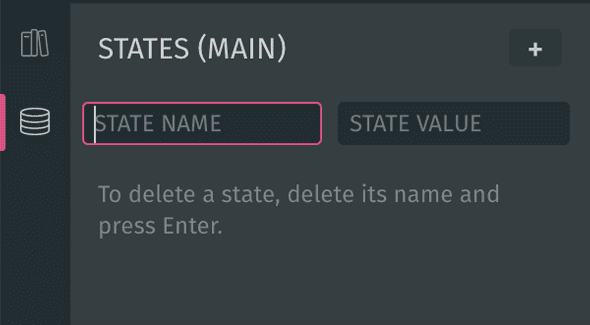
To create a new State, you need to click on the [+] button at the top-right of the panel.
Then, you need to enter a Name and a Value for your State, in the created inputs.
To create a valid name and value, follow these parameters:
- Name: May include any letter (lowercase or uppercase), underscores and/or any number.
- Value: You can use any content that is valid JavaScript as your value. For example, numbers, strings, objects, arrays, boolean, etc.
If you try to pass any other type of value or character, you will get an error message like the one below.
How do I delete a State?
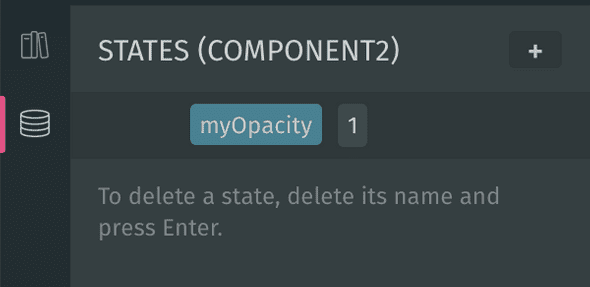
To delete a state, simply delete its name and press enter, as instructed in the app.
What are States for?
Now that we've covered where to find and how to create States, it's important to understand what they are for.
You can think of States as variables, or a “bucket for data.” In plain words, you can use States to define a value that can later be easily changed when, for example, the user interacts with the component using this State.
As an example, if you want a certain color to be customizable you could expose a state called myColor, then bind myColor to the color of any/all elements you want to be that color. Now by changing myColor in one place, all of your elements will be updated dynamically. Moreover, when using this component in an external codebase the developer can pass in myColor in order to overwrite it at runtime.
Color is just one example: you can also use states to define sizes, text, complex parameters like “bounciness” or “speed,” or really anything else you could imagine storing in a variable in code.
How do I use States?
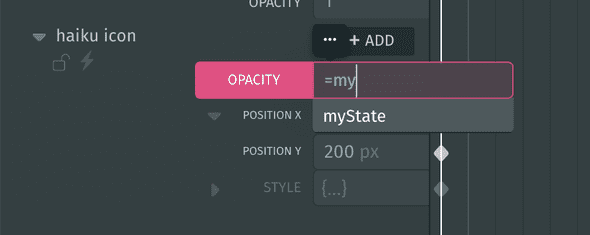
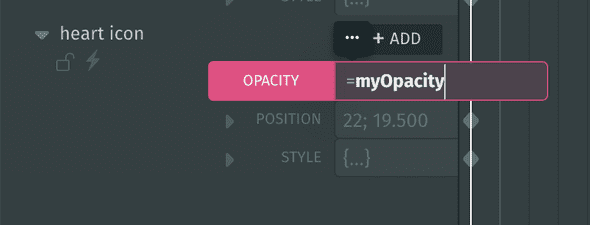
After creating a State, you can use it by calling it from the timeline's properties panel. To do so, you need to select the property you want to use your State in and type “=” and the name of your state.
You will see that Haiku automatically suggests name matches as you start typing, which you can select from a dropdown menu, and hit enter to finish.
Once your State is in play, you are basically passing the Value of your State onto the property where you applied it. We'll see how this is super useful in a moment.
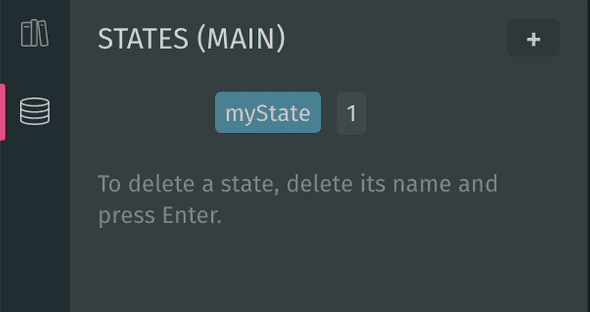
In this particular example, we are assigning a value of 1 (defined in the State) to the Opacity property of the “Haiku icon” element. In short, the Haiku icon has an Opacity of 1 (100%). The cool part is that this value is now programmatically interchangeable, as opposed to just typing “1” in the Opacity property.
An adaptable tool
Like we mentioned before, and in other tutorials, you can assign more complex values to your States, and therefore perform more complex operations. For example, you can use conditionals, like so:
- State: hasClicked = false
- Opacity: = hasClicked ? 1 : 0;
Watch a tutorial using this specific example here.
States as variables
We mentioned before that the cool part about States is their ability to be easily modified, and therefore, it becomes very easy to change the form or status of a given component. And this change of behavior can be triggered by user interaction!
You can change a State's value in three ways:
- Through Actions.
- Overriding a subcomponent's state from your Main component.
- Through an external codebase where you instantiate your component.
Changing a state's value with actions
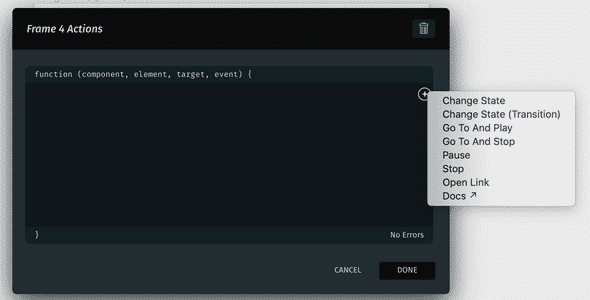
Either with Frame or Element Actions (which you can use to add user interactions), you can modify a State by using the “Change State” and/or the “Change State (Transition)” snippets, which you can access by clicking the [+] button on the Actions modal.
- Change State: Changes the original value of your state for a new one to be defined.
- Change State (Transition): Changes the value of the state and adds a transition from the original value to the new value.
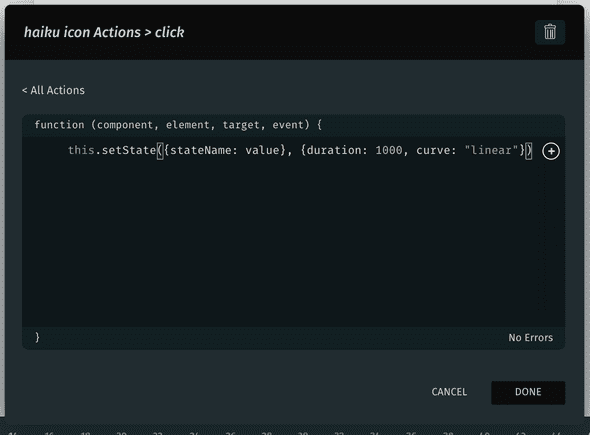
Once you select the snippet and it populates on the Actions modal, you need to swap the snippet's placeholders for real data.
Specifically, in the case you're using the “Change State (Transition)” snippet, you need to change:
stateName: Use the actual name of the State you created (e.g. myState)value: Here you need to enter the new value you want your property to acquire. This is exactly where you change your State.duration: You need to specify the time you want the transition from the original State to its new value to take, in milliseconds.curve: Here you can select one of the predefined easing curves available in Haiku (e.g.easeInOutSine).
Tip: In the case you're using the “Change State” snippet, you'll only need to change the State's name and value.
Here are a couple video tutorials using this technique:
- Getting started with interactivity in Haiku
- Stop and play button interaction by Anjan Shrestha
- Haiku: How to make a toggle component
Overriding a subcomponent's state
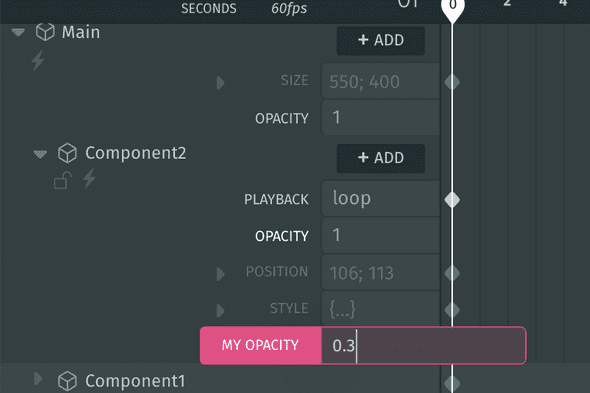
When you create a subcomponent, you'll notice that it has its own States panel, which will be empty, even if you created multiple States on your Main component. This is because States are scoped to the subcomponent where they are created, and they can only affect that subcomponent.
If you create a State and apply it in a property within the subcomponent, for example in the Opacity property, you will be able to override that State passed into an instance of the subcomponent from your Main component.
This technique opens a world of possibilities to give creative uses to States. In the Haiku below, for example, this technique is used to change the color and size of one component (the circle) which is repeated several times in Main.
Here's the link in case you want to fork this project and take a look: https://share.haiku.ai/u/robertodip/superhero
Changing states from an external codebase
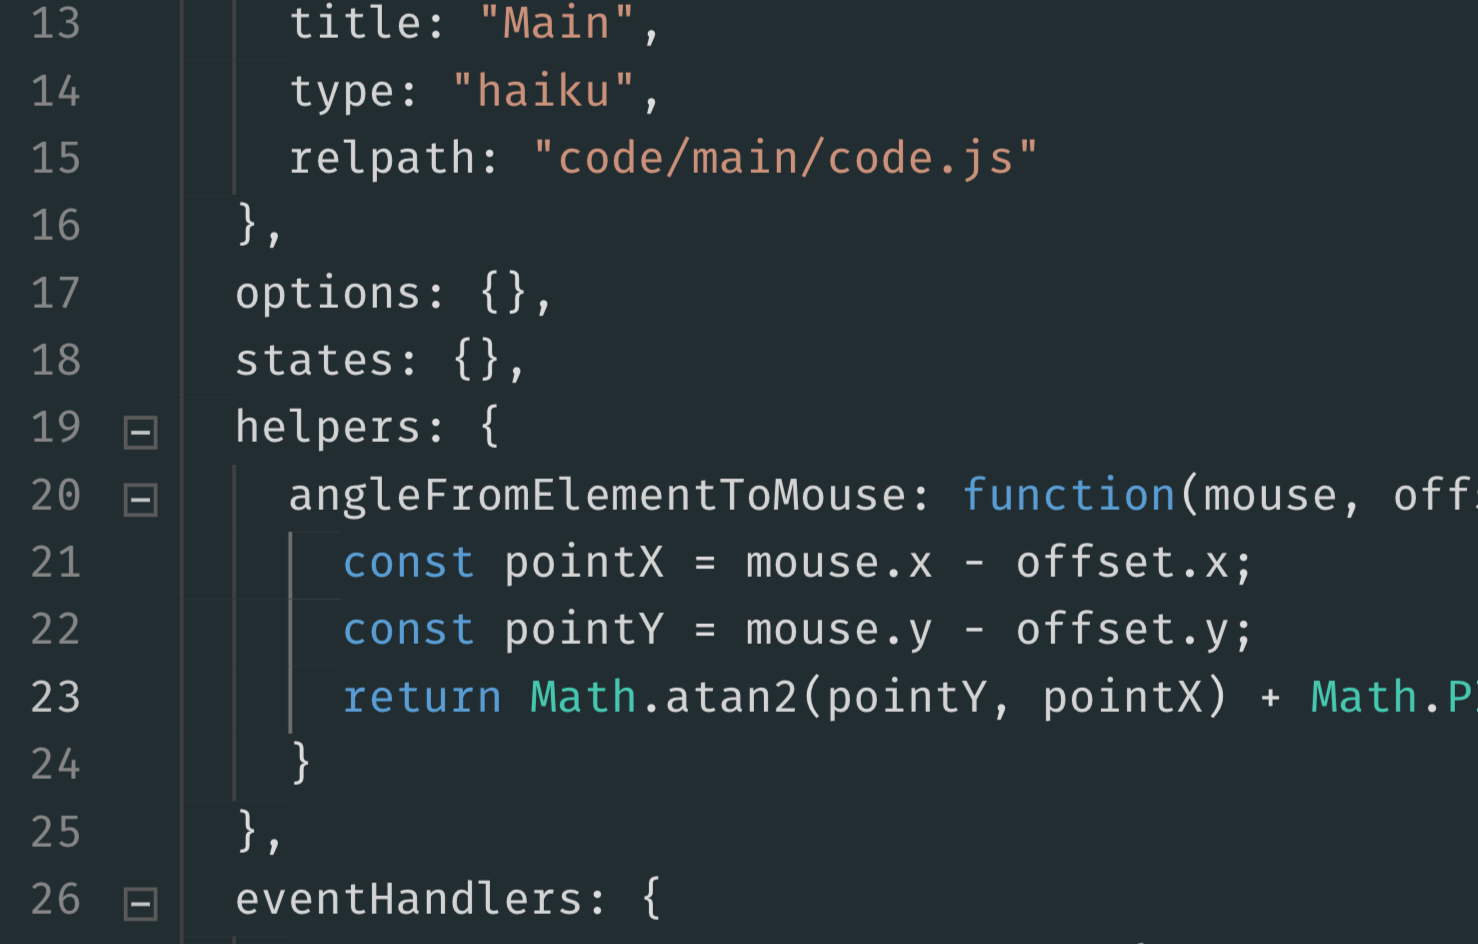
You can also change States from the codebase where you instantiate your Haiku component. Read more about this in our Docs.
That's a wrap!
As you can see, States is a very powerful and dynamic feature. There's a lot you can do with it. Give it a shot and try for yourself!
Find more related tutorials here: https://www.haiku.ai/learn/
If you have any ideas for tutorials you'd like to see, please shoot us a quick email to contact@haiku.ai
See you soon!

