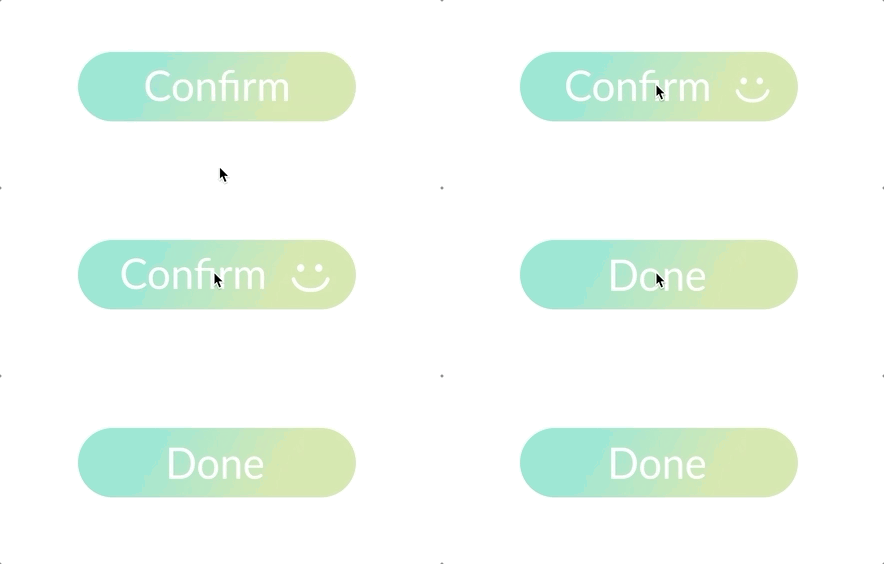
There's no set of pre-made curves capable of satisfying all use cases. That's why we're adding Custom easing curves to Haiku. They allow a fine-grained control over the personality and expressiveness of your animations.
In this post, we'll explore how to easily edit easing curves from the UI and via code.
Editing Easing Curves from the UI
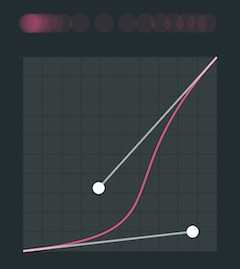
Editing Curves in Haiku is easy. Just find the curve you want to edit in the Timeline, right-click it and select Edit Bezier Curve from the options available. This will open up the curve editor.
Every time you move the handles, the curve is automatically saved. The editor has the additional feature of an onion preview at the top to help you envision the transition more accurately.
Tip: If you need help understanding how to read Cubic Bezier Curves, check out this article.
To view the curve in action, simply hit 'play' in the timeline. If you want to further refine your curve, you can continue polishing it with the editor, the same as before. As you edit the curve, changes will reflect live on the Stage, allowing you to adjust your curve in real time and in the context of your entire project.
Editing Bezier Curves in Code
You can also manually edit the code of your Haiku, either by using the app's Code modeor by opening the code files in your favorite editor.
Curves in the code are defined by the curve key in the objects that describe Keyframes. For example, this bit of code is describing how the opacity value of an element changes:
"opacity": {
  "0": { value: 0 },
  "50": { value: 0.5, curve: "linear" },
  "100": { value: 1 }
}- At
0msthe *opacity *has a value of0. - At
50msthe opacity has a value of0.5, and since it also has a curve key, the transition to the next value will be linear. - Finally, at
100msthe *opacity *has a value of1.
For the value of curve, you can use a String from a set of predefined curves or an Array that defines the control points of a serialized Cubic Bezier Curve. Let's see some examples:
Example 1: If the curve in normalized Bezier mode has the points (0, 0), (x1, y1), (x2, y2), (1, 1) the curve should be serialized as [x1, y1, x2, y2].
Example 2: In order to change the opacity from our previous example using easeInOutBack as defined here, you can write:
"opacity": {
  "0": { value: 0 },
  "50": { value: 0.5, curve: [0.68, -0.55, 0.265, 1.55] },
  "100": { value: 1 }
}
What's next
We'd love to offer you as much flexibility as possible to really bring your animations to life, and we realize that there's more work to do ahead of us. Here are some things in our roadmap that we'd like to share with you:
- Custom functions defining custom curves: The ability to provide a function which is in charge of returning values.
- Chains of Bezier Curves: While the current functionality allows you to define a wide variety of curves, in order to define more complex curves you may need to chain multiple Bezier curves together.
Also, if there are any features you'd like us to add in the near future, please let us know!


